
Pruning
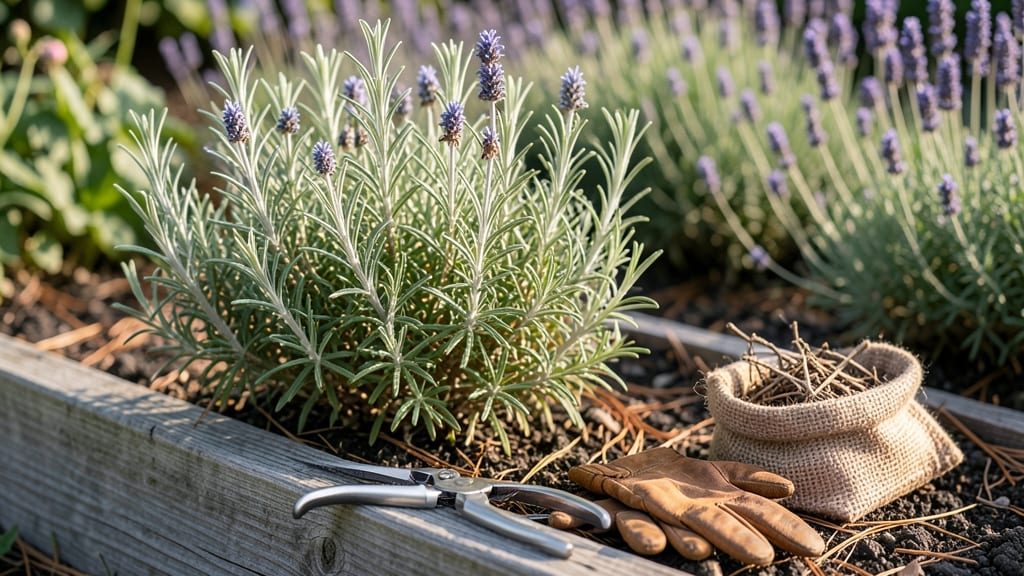
How to cut back salvias after flowering—just three simple snips can transform last season’s tired plants into next year’s vibrant showstoppers. 🌿 After years of watching my salvias fade into leggy shadows, I discovered the exact pruning method that keeps them blooming like clockwork—no guesswork, just clean cuts and a little patience.
The key is timing: prune perennials in late fall or early spring when new growth signals the plant’s ready to rebound. Annuals? Snip them back right after flowering to encourage a second flush.
Grab sharp pruners and gloves—you’ll work faster, and the clean cuts prevent disease. Never prune into winter; salvias need that dormant period to strengthen.
What you’ll end up with is neat, compact plants that burst with fresh growth by spring. The right cuts also prevent woody stems and keep those vibrant blooms coming for years.
My salvias now put on a show from May through October—something I never thought possible after my first messy pruning attempt.
Works for all salvias—Mexican bush, sage, or scarlet—and adapts to containers or garden beds. Here’s the foolproof method that finally made my salvias thrive again, no matter the season.
📚 In This Guide
- What you need
- Instructions
- Tips and common mistakes
- Wrapping up and next steps
What you need
- ● Pruning shears or bypass pruners: Choose sharp, sterilized shears (e.g., Felco F-2 or similar) with a 4- to 6-inch blade for precision cuts. Disinfect with rubbing alcohol before and after use to prevent disease spread.
- ● Garden gloves: A pair of cut-resistant, breathable gloves (e.g., nitrile-coated) to protect your hands from thorns or rough stems.
- ○ Garden twine or plant ties: A small roll of 1/4-inch-wide twine (optional but helpful for securing sprawling stems post-prune).
- ● Trash bag or bucket: A 10-gallon capacity bag or bucket for collecting pruned debris and spent blooms.
- ● Watering can or hose: A 1-gallon watering can or gentle spray nozzle to hydrate plants post-pruning.
- ● Hand pruners or loppers: For thicker stems (over 1/2-inch diameter), a pair of bypass loppers (e.g., Corona Tools) makes the job easier.
- ● Fungicide spray: A copper-based fungicide (like Bonide Copper Fungicide) to spray cuts if your Salvia is prone to fungal issues.
- ● Plant food or compost: A balanced 10-10-10 fertilizer or well-aged compost to nourish your Salvia after pruning.
- ● Knee pad or stool: For comfort, especially if you’re pruning larger Salvia shrubs or working in tight spaces.
Step-by-step instructions for cutting back salvias after flowering
Here's how I always refresh my salvias—it takes minutes but keeps them blooming for years.
✂️ Step 1: Wait for the Right Time to Prune
Don't cut back salvias until after the first hard frost or when at least 50% of the foliage has browned. This gives the plant time to store energy in its roots for next season. I wait until late fall when the stems feel crispy to the touch—this signals the plant has entered dormancy.
If you prune too early, you risk removing new buds that haven't formed yet. For tender salvias like Salvia leucantha, you can give them a light trim after flowering to encourage a second bloom, but hardy varieties like Salvia nemorosa need the full winter rest.
✂️ Step 2: Cut Back to the Wooden Stem Base
Use clean, sharp pruning shears to cut each stem back to 1-2 inches above the ground, just above where the woody base meets the soft growth. You'll see a clear transition point where the stem turns brown and woody—this is your guide. I make the cut at a slight angle to prevent water from pooling on the stem.
Don't worry if it looks drastic—salvias are tough perennials that regrow from their base. The key is removing all the old growth while leaving the healthy, dormant stems intact. If you're unsure, leave a little extra stem rather than cutting too low.
✂️ Step 3: Remove All Dead Foliage and Debris
After cutting back the stems, rake up all the fallen leaves and spent blooms from around the plant. This prevents fungal diseases from overwintering in the debris. I use a small hand rake to get into tight spaces where leaves might have accumulated.
If you notice any brown, mushy stems or blackened spots, trim those away immediately and dispose of them in the trash—not the compost pile. Healthy salvias should have clean, dry stems with no signs of rot or disease.
🌱 Step 4: Lightly Mulch the Base (Optional but Helpful)
Spread a 1-2 inch layer of mulch around the base of the plant, keeping it 2-3 inches away from the stems to prevent moisture buildup. I use shredded bark or straw because they break down slowly and improve soil structure over time.
This step protects the roots from extreme temperature fluctuations and keeps weeds at bay. In colder climates, a thick layer helps insulate the plant through winter. Skip this if you're in a mild winter zone where salvias stay active year-round.
☀️ Step 5: Water Sparingly Until Spring Growth
Give the plant a deep watering right after pruning to help it recover, but then reduce watering to once every 2-3 weeks unless your area experiences prolonged drought. Overwatering now can lead to rot in the dormant roots.
In spring, you'll see new growth emerge from the base—this is your signal that the plant is ready for regular care. Until then, just keep an eye out for any signs of pests or disease, which are more likely to appear when plants are stressed.
Tips & tricks for perfect Salvia pruning
Here's what I learned after years of pruning my salvias—these little tricks make all the difference between a plant that revives and one that struggles.
Timing is Everything: I can't stress this enough: wait until the stems feel crispy to the touch before cutting. This usually happens after the first hard frost, but if you're in a mild climate, wait until at least 50% of the foliage has naturally browned. I've made the mistake of pruning too early, and my salvias never fully recovered their vigor the next season. The crispy stems signal the plant has stored enough energy in its roots to survive dormancy.
Tool Selection Matters: Don't use dull or dirty pruning shears—this can tear stems and introduce disease. I keep a pair of clean, sharp bypass pruners just for my salvias. For smaller plants, I use small hand pruners for more precision. Sterilize your tools with rubbing alcohol between cuts if you notice any signs of disease on the plant.
Visual Cues for Cutting Height: In Step 2, look for the clear transition point where the stem turns brown and woody. This is your perfect cutting spot—1-2 inches above the ground. I like to make the cut at a slight angle to prevent water from pooling on the stem, which could lead to rot. If you're unsure, it's better to leave a little extra stem than to cut too low and damage the dormant buds.
Mulch Strategy: The 1-2 inch layer of mulch in Step 4 is especially important in colder climates. I use shredded bark because it breaks down slowly and improves soil structure over time. Keep the mulch 2-3 inches away from the stems to prevent moisture buildup, which can cause rot. In mild winter zones, you can skip this step entirely if your salvias stay active year-round.
Pro Tips for Cut Back Salvias After Flowering
- Here's what I learned after years of pruning my salvias—these little tricks make all the difference between a plant t...
- Timing is Everything: I can't stress this enough: wait until the stems feel crispy to the touch before cutting. This ...
- Tool Selection Matters: Don't use dull or dirty pruning shears—this can tear stems and introduce disease. I keep a pa...
Frequently asked questions
Got questions about cutting back salvias after they’ve finished blooming? You’re not alone! Here are some of the most common concerns—and their answers—to help you prune like a pro.
When is the exact best time to cut back salvias after flowering?
Prune after the first hard frost (or when flower spikes turn brown), but before new growth starts in spring. For tender perennials (like Salvia greggii), wait until late winter. This timing balances fresh growth with frost protection.
Should I cut salvias all the way down to the ground?
Not always! For woody salvias (e.g., Salvia nemorosa), trim back by ⅓ to ½ to encourage bushier growth. For herbaceous types, cut to 2–3 inches above the base. Never remove all foliage—salvias store energy in their stems!
What if my salvia looks sad after cutting? Did I mess up?
Don’t panic! Yellowing leaves or leggy stems often mean it’s adjusting. Boost it with balanced fertilizer and consistent water (but avoid soggy soil). If it’s woody salvia, it might need a harder prune next year—patience is key!
Can I deadhead salvias instead of cutting them back?
Deadheading (removing spent blooms) is great for encouraging more flowers, but it’s not the same as post-flowering pruning. For perennial salvias, combine both: deadhead throughout the season, then do a full cutback in late winter/early spring.
What if I live in a hot/dry climate? Will pruning stress my salvias?
In arid zones, prune early in the day to reduce stress from heat. Water deeply before and after cutting. Mulch around the base to retain moisture, and avoid pruning during droughts—salvias are tough but not drought-proof!
Wrapping up and next steps
Cutting back salvias after flowering isn’t just about tidying up—it’s your secret to vibrant blooms next season! With just three simple snips and a little timing, you’ll keep these perennials thriving for years. Remember: patience and precision pay off in lush, healthy growth.
Ready to transform your garden? Grab your pruners and give your salvias the care they deserve—your future blooms will thank you! 🌿✨ Check out our guide on fertilizing salvias for even more color to keep the magic going.