
How To
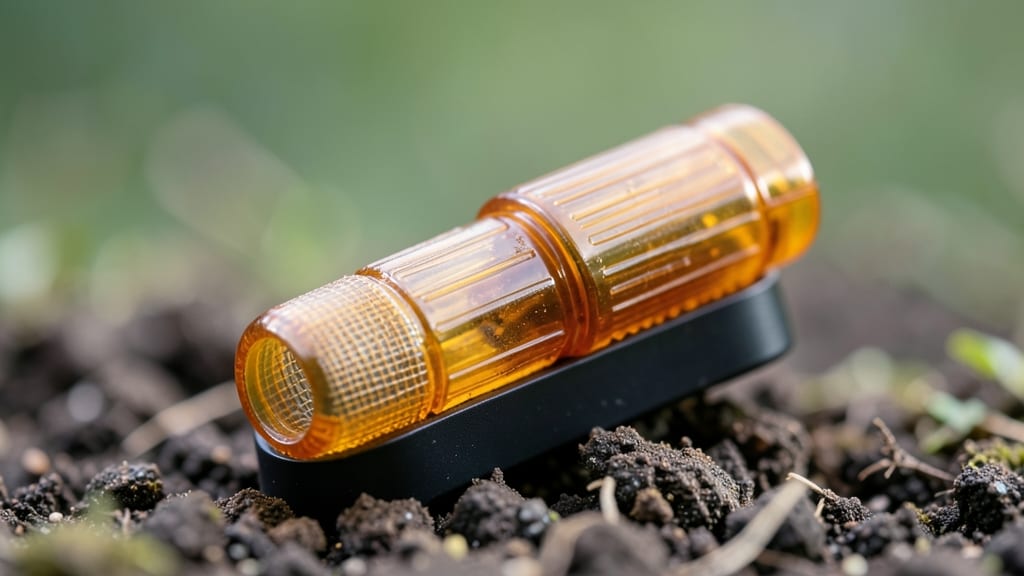
Earwigs are sneaky little pests that turn your garden into their buffet. 🌱 I’ve battled them for years, but this baited bottle trap finally gave me control—no chemicals, just clever placement and a little patience. The key? They’re drawn to damp, dark spaces, and this trap exploits that perfectly.
You only need three household items: a plastic bottle, some beer or damp newspaper, and a permanent marker. Cut the bottle in half, invert the top into the bottom like a funnel, and add your bait. Place traps near problem areas at dusk—they’ll crawl in but can’t escape.
By morning, you’ll have a clear count of invaders ready for disposal. The best part? One trap can catch dozens in a night, and you’ll see fewer earwigs gnawing your plants within 24 hours.
I’ve used this method in my vegetable beds, under mulch, and even near my patio furniture—it works everywhere. The secret is consistency: check traps daily and reset them. For stubborn infestations, combine this with diatomaceous earth around plant bases or neem oil sprays for extra protection.
Earwigs hate dry environments, so keep mulch slightly lifted and avoid overwatering. Your garden will thank you!
📚 In This Guide
- What you need
- Instructions
- Tips and common mistakes
- Wrapping up and next steps
What you need
- ● 1 empty plastic bottle (16–32 oz, like a soda or water bottle—clean and dry)
- ● Scissors or a sharp knife (to cut the bottle)
- ● Duct tape or strong packing tape (to seal the trap)
- ● Bait options (pick one): Moisture-rich bait: Damp newspaper, a cotton ball soaked in water, or a slice of ripe fruit (like banana or apple)
- ● Protein bait: A small piece of raw potato or overripe fruit (earwigs love decaying organic matter!)
- ○ Optional but helpful: A flashlight (to check for earwigs at night)
- ● Gloves (if you’re squeamish about handling bait)
Step-by-step instructions for making an effective earwig trap
Here's the foolproof method I use to eliminate earwigs from my garden—no chemicals, just clever trapping.
🪴 Step 1: Gather the Right Materials
You'll need a clean, empty plastic bottle (16-20 oz size works best), a sharp knife or scissors, and a few strips of cardboard or thick paper. Earwigs are attracted to moisture and darkness, so these simple items create the perfect trap. Avoid metal containers—they conduct heat and scare off earwigs before they enter.
Cut the bottle about 2 inches from the top to create a funnel. The larger opening faces downward, while the smaller neck remains intact. This design lets earwigs crawl in but makes escaping nearly impossible. I always use a bottle with a cap—earwigs won’t climb smooth plastic surfaces, so they’ll stay trapped inside overnight.
🌿 Step 2: Add Bait and Position the Trap
Place a damp paper towel or a small piece of damp cardboard inside the bottle—earwigs seek out moisture, and this bait draws them in quickly. You can also add a few drops of beer or a slice of potato (both work as effective lures). The key is to keep the bait slightly damp but not soggy; too much moisture can discourage entry.
Position the trap near problem areas: under mulch, along foundation walls, or under patio furniture where earwigs hide during the day. Earwigs are nocturnal, so set traps in the evening and check them first thing in the morning. For best results, place traps 1-2 feet apart in infested zones to maximize coverage.
⏰ Step 3: Check and Reset the Trap Daily
Earwigs will start appearing inside the trap within 2-4 hours—you’ll see them crawling toward the damp bait. Remove the bottle in the morning, empty the earwigs into a bucket of soapy water (to kill them humanely), and reset the trap with fresh bait. I’ve found that traps placed near garden beds or compost piles fill up fastest because earwigs congregate there to feed.
If you’re dealing with a severe infestation, leave traps out for 3-5 consecutive nights. Earwigs are social insects, so removing a few will encourage others to seek shelter elsewhere. After a week, reassess—if you’re still seeing them, expand your trapping zones or check for moisture issues in your garden that might be attracting them.
💧 Step 4: Reduce Earwig Attraction Long-Term
While the trap works quickly, preventing future earwigs means addressing their preferred conditions. Earwigs thrive in damp, shaded areas, so reduce mulch thickness (keep it 2 inches deep), improve drainage in garden beds, and avoid overwatering plants. I also recommend removing leaf litter and debris from garden edges—these hideouts shelter earwigs during the day.
For persistent problems, consider adding diatomaceous earth (food-grade) around trap zones. It’s non-toxic but deadly to earwigs when they crawl through it. Sprinkle a thin layer near entry points where they might re-enter your garden after escaping the trap. Combine this with your bottle traps for a two-pronged defense.
Tips & tricks for perfect earwig traps
These clever adjustments will help you maximize your trap's effectiveness and make earwig control even easier.
Bottle Selection: For best results, choose a plastic bottle with a slightly tapered shape—like soda bottles. The narrower neck makes it harder for earwigs to climb back out. I’ve found that 16-20 oz bottles work perfectly because they’re large enough to catch multiple earwigs but not so big that they become unwieldy. Avoid wide-mouthed containers like jars, as earwigs can more easily escape through the wider openings.
Bait Optimization: The damp paper towel or cardboard should be just moist enough to feel slightly damp to the touch, not dripping wet. Too much moisture can discourage earwigs from entering, while too little won’t attract them. I’ve had the most success with a 2-inch square of paper towel that’s been lightly misted with water and wrung out. Optional: Add a few drops of beer or a thin potato slice—these work as powerful lures, but don’t overdo it. A ½-inch slice is plenty.
Placement Strategy: Earwigs are nocturnal and seek shelter during the day, so position traps in areas where you’ve spotted them: under mulch, along foundation walls, or near garden beds. For maximum coverage, place traps 1-2 feet apart in infested zones. Pro tip: If you’re dealing with a severe infestation, leave traps out for 3-5 consecutive nights—earwigs are social, so removing a few will encourage others to seek alternative shelter.
Long-Term Prevention: While the trap works quickly, reducing earwig attraction long-term is key. Earwigs thrive in damp, shaded areas, so keep mulch thickness to 2 inches or less and improve drainage in garden beds. I’ve also found that removing leaf litter and debris from garden edges eliminates their daytime hideouts. For persistent problems, sprinkle a thin layer of food-grade diatomaceous earth around trap zones—it’s non-toxic but deadly to earwigs when they crawl through it.
Pro Tips for Make An Earwig Trap
- These clever adjustments will help you maximize your trap's effectiveness and make earwig control even easier.
- Bottle Selection: For best results, choose a plastic bottle with a slightly tapered shape—like soda bottles. The narr...
- Bait Optimization: The damp paper towel or cardboard should be just moist enough to feel slightly damp to the touch, ...
Frequently asked questions
Got questions about earwig traps? You’re not alone! Here are some of the most common concerns—and quick, practical answers to help you tackle those pesky critters like a pro.
How long does it take for an earwig trap to work?
Most DIY earwig traps (like the bottle method) start catching earwigs within a few hours, especially at night when they’re most active. For best results, check your traps daily and replace bait every 2–3 days. Patience pays off—consistent trapping can reduce earwig populations in 1–2 weeks!
What’s the best time of day to set up an earwig trap?
Earwigs are nocturnal, so set your traps in the late afternoon or early evening (around dusk) for maximum effectiveness. They’ll crawl in as night falls. Avoid placing traps during the day—they’re less active then, and your bait might dry out or attract unwanted pests like ants.
Can I use beer or other liquids besides water as bait?
Yes! While water works, beer, apple cider vinegar, or even a mix of sugar and water can be even more enticing. Earwigs love fermenting liquids and moisture. Just avoid strong alcohols (like vodka)—they’ll drown but won’t be as effective at luring others. Pro tip: Dark beer is a top choice!
Will earwig traps harm my plants or pets?
DIY earwig traps are pet-safe if made with non-toxic bait (like water or beer). However, keep them out of reach of curious pets or children—earwigs can bite if provoked (though they’re harmless). For plants, avoid placing traps directly on soil (they can attract fungus gnats). Use them near problem areas, not on foliage.
What if my trap isn’t catching any earwigs?
Don’t panic! Try these fixes:
- Check placement: Move traps to damp, shaded spots (earwigs love moisture).
- Refresh bait: Stale water or dried beer loses its appeal—replace it often.
- Increase depth: Use taller containers (like soda bottles) so earwigs can’t climb out.
- Add a light source: Earwigs are attracted to moisture and warmth—place traps near outdoor lights at night.
Wrapping up and next steps
You’ve got everything you need to banish those pesky earwigs for good! 🎉 With just a few household items—like a plastic bottle, a little bait, and a bit of creativity—you can craft an effective trap that works fast. Don’t let these critters ruin your garden or home; take action now and reclaim your space!
Ready to put your new skills to the test? Try setting up your trap tonight and check it in the morning—you’ll be amazed at the results! For extra peace of mind, consider preventative measures like keeping your yard dry or using mulch alternatives to deter earwigs long-term.