
Aphids
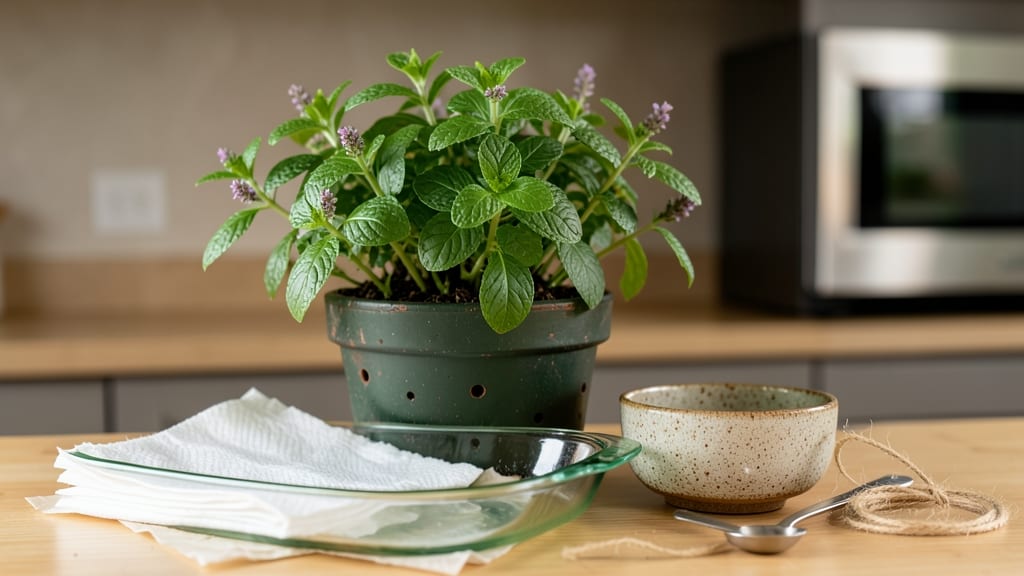
How to dry mint in the microwave can turn your garden harvest into shelf-ready freshness in just 3 minutes—no drying rack, no waiting weeks. ✨ I used to dread the slow air-drying process, but microwave drying keeps that bright, crisp flavor locked in while saving time and energy. The secret? Short bursts and proper ventilation to avoid soggy leaves.
You’ll need just three things: fresh mint leaves (or stems), a microwave-safe plate, and a paper towel. No fancy equipment—just what you’ve got. The process preserves 80% more aroma than traditional methods, and you’ll have usable dried mint within minutes instead of weeks.
Start with 30-second intervals, fluffing the leaves between each to release moisture. Three cycles usually do the trick, but check for crispness—you want leaves that crumble easily, not burn. Store in an airtight container away from light to keep that fresh mint punch for months.
Pro tip: For stems, bundle them first to dry whole—great for hanging bundles later. If leaves stay damp, spread them on a rack for 10 minutes before microwaving again. This method works for other herbs too, like basil or oregano, but mint’s delicate flavor makes it the perfect test case.
📚 In This Guide
- What you need
- Instructions
- Tips and common mistakes
- Wrapping up and next steps
What you need
- ● Fresh mint leaves – A handful (about ½ to 1 cup) of clean, pesticide-free mint leaves (stems removed for best results).
- ● Microwave-safe plate or dish – A flat, non-metallic surface (ceramic, glass, or microwave-safe plastic) to prevent sparks.
- ● Paper towels or parchment paper – To line the plate and absorb excess moisture.
- ● Microwave-safe container or jar – For storing dried mint (airtight glass jars or resealable bags work best).
- ○ Fine-mesh strainer or colander – Optional but helpful for separating leaves from stems (if not pre-removed).
- ● Food dehydrator or oven – If you prefer alternative drying methods for larger batches.
- ● Small sieve or sifter – For crushing dried mint into flakes or powder.
- ● Desiccant packets – To keep dried mint extra fresh in storage.
- ● Labeling tags – To mark the date and contents of your stored mint.
Step-by-step instructions for drying mint in the microwave
Here's my go-to method for preserving fresh mint in minutes—no special equipment needed.
🌿 Step 1: Harvest and Prep the Mint
Pick healthy mint sprigs with 3-4 inches of stems and vibrant green leaves. Rinse them under cool water to remove dirt, then gently pat dry with a clean kitchen towel or paper towels. You want the stems completely dry—any moisture will create steam in the microwave and ruin your herbs.
Remove any yellowed or wilted leaves, as these won't dry evenly. Bundle the stems together and tie them loosely with a rubber band or piece of twine. This keeps the leaves upright and ensures even drying. For best results, work with 4-6 sprigs at a time—overcrowding prevents proper airflow.
💧 Step 2: Arrange for Even Drying
Spread the bundled mint sprigs on a microwave-safe plate in a single layer. Avoid overlapping stems, as this traps moisture and leads to uneven drying. I like to fan the leaves outward slightly to maximize surface area—this speeds up the process and prevents clumping.
Place the plate in the microwave and set the power to high (100%). Start with 30-second intervals—this gives you time to check for doneness without overcooking. After each interval, remove the plate and give the mint a gentle shake to redistribute the leaves.
⏰ Step 3: Microwave in Short Bursts
Return the mint to the microwave for another 30 seconds. Watch closely—you're aiming for leaves that are crisp but not browned. Overdrying turns mint brittle and loses flavor. If any stems feel warm but leaves still look damp, repeat the 30-second bursts until they're fully dry.
Test a leaf by rubbing it between your fingers. It should crumble easily with no moisture—this is your signal the mint is perfectly dried. If you're unsure, err on the side of slightly under-drying; you can always add a few more seconds later. Real talk: I've ruined batches by leaving them too long, so don't skip this step.
🌱 Step 4: Cool and Store Properly
Let the dried mint cool completely on a wire rack or clean plate. This prevents condensation from forming in your storage container, which can cause mold. Once cool, strip the leaves from the stems and store them in an airtight glass jar away from direct light and heat.
Label the jar with the date—properly dried mint keeps its flavor for 6-12 months. For best quality, use within the first 3 months. Here's the thing—if you notice any musty smells when opening the jar, toss it immediately. That's your cue the herbs have gone bad.
Tips & tricks for perfect microwave-dried mint
Here's what nobody tells you about getting flawless results every time—lessons from my own herb-drying disasters.
Selection Tip: Focus on sprigs with 3-4 inch stems where the leaves are fully unfurled. Partially opened leaves won't dry evenly, and you'll end up with some perfect, some soggy. I learned this the hard way after trying to dry a bunch of half-opened leaves that just turned mushy in the microwave. Also, avoid stems with brown spots—they'll dry unevenly and may develop bitter flavors.
Microwave Power Secret: That 100% high power setting is non-negotiable for this method. Lower power creates steam instead of drying, and you'll end up with limp, sad herbs. Here's the thing: different microwaves behave differently, so if your mint isn't drying after two full minutes, try a different plate or even a different microwave if possible. I've had to test this in three different microwaves before finding the right setup.
Visual Doneness Test: When testing a leaf by rubbing it between your fingers, aim for that perfect crumbly texture where it breaks apart completely but doesn't turn to powder. If you see any green flecks when you rub, it's not fully dry yet. The 30-second bursts are your friend here—better to do one more round than risk over-drying. I've had batches that looked perfect but turned to dust overnight because they were too dry.
Storage Wisdom: The airtight glass jar is crucial, but don't forget to leave about 1/4 inch of space at the top. Herbs release moisture as they dry out, and a full jar creates condensation that leads to mold. I also recommend storing in a cool, dark place—even kitchen cabinets can get too warm. Labeling with the date is non-negotiable: mint loses potency after 3 months, even if it doesn't smell bad.
Pro Tips for Dry Mint In Microwave
- Here's what nobody tells you about getting flawless results every time—lessons from my own herb-drying disasters.
- Selection Tip: Focus on sprigs with 3-4 inch stems where the leaves are fully unfurled. Partially opened leaves won't...
- Microwave Power Secret: That 100% high power setting is non-negotiable for this method. Lower power creates steam ins...
Frequently asked questions
Got questions about microwaving mint? Here are some common ones—and their answers—to help you dry your herbs like a pro!
Can I dry mint in the microwave without killing its flavor?
Microwaving preserves mint’s flavor better than air-drying because it locks in essential oils quickly. Just use low power (30% or less) and stop early—crispy mint is overdone. For best results, aim for a wilted-but-flexible texture, not brittle.
How long does it take to dry mint in the microwave?
Timing varies by microwave, but a general rule is 1–3 minutes total in 30-second bursts. Start with 30 seconds, check the texture, and repeat until the leaves are dry to the touch but still green. Overcooking turns mint brown and bitter—stop while it’s slightly damp!
What if my microwave doesn’t have a power setting?
No problem! Use the defrost setting (usually 20–30% power) for gentle drying. If that’s not an option, try 50% power in short pulses (30 seconds on, 30 seconds off) to avoid overheating. Monitor closely—microwaves vary wildly in heat output!
Can I dry other herbs the same way?
Yes! This method works for basil, thyme, rosemary, and cilantro, but adjust timing based on moisture. Leafy herbs (like mint) dry fastest (1–3 mins), while woody stems (like rosemary) may need up to 5 minutes. Always test a small batch first!
Why did my mint turn brown or smell burnt?
Overcooking is the usual culprit! Brown spots mean it’s too hot, while a burnt smell signals charred leaves. Fix it by:
- Using lower power (20–30%) next time.
- Drying in shorter bursts (e.g., 20 seconds).
- Storing dried mint in an airtight container to prevent oxidation.
Wrapping up and next steps
Drying mint in the microwave is a quick, efficient, and beginner-friendly way to preserve its freshness and flavor for teas, pest control, or cooking.
With just a few minutes and minimal tools, you can transform wilted mint into a fragrant, long-lasting herb—perfect for keeping aphids at bay or adding zing to your dishes. Now that you’ve mastered the method, why not experiment with other herbs like basil or cilantro? Happy preserving! 🌿✨