
Pests
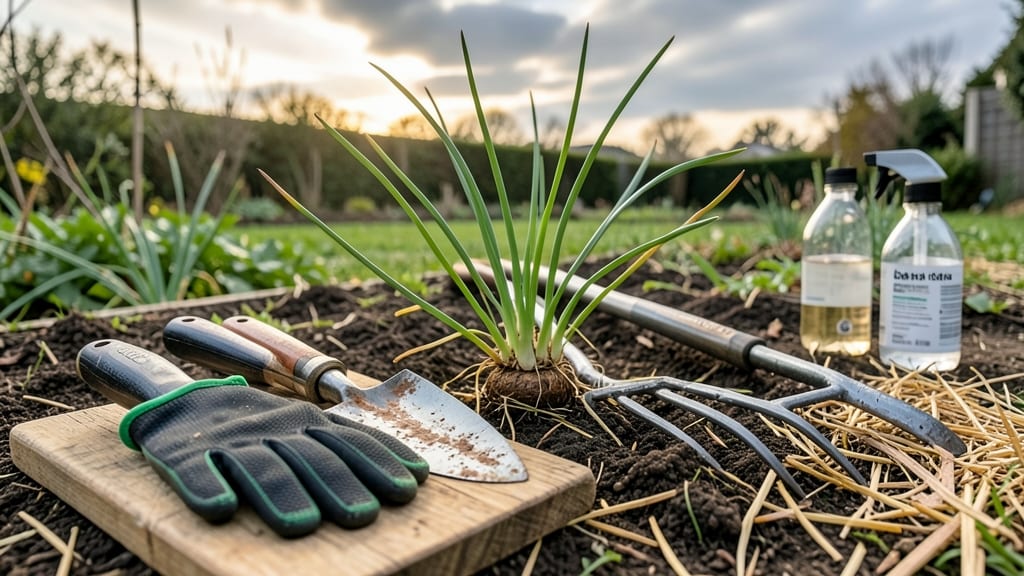
How to get rid of onion weed before it ruins your harvests—those sneaky invaders strike fast. 🌱 I’ve spent years battling these persistent weeds, and boiling water is the fastest way to kill them before they spread. The key? Targeting the roots with precision—no digging, no chemicals, just instant destruction. This method works because onion weed (wild garlic or wild onion) has deep, fibrous roots that regular pulling won’t stop. Boiling water sears the roots on contact, preventing regrowth. You’ll need a kettle, a watering can, or even a hose attachment—no fancy tools, just heat and patience. Within minutes, the plants wilt and die, leaving your garden weed-free for weeks. The smell of boiling water might be strong, but the results are worth it—no more bitter onion flavors in your harvests or stubborn regrowth come spring. For long-term control, repeat treatments every 2-3 weeks during active growth. Pair this with mulching to smother new sprouts, and you’ll reclaim your garden without harsh chemicals. Let’s get those weeds gone for good!
📚 In This Guide
- What you need
- Instructions
- Tips and common mistakes
- Wrapping up and next steps
What you need
- ● Boiling water: At least 2–3 gallons (enough to cover the weed patch thoroughly). Use a large pot or kettle—never pour boiling water directly from a stove!
- ● Heavy-duty gloves: Garden-grade (nitrile or rubber) to protect your hands from burns and sap.
- ○ Long-handled shovel or trowel: For clearing debris and loosening soil around the roots (optional but helpful).
- ● Garden hose with a spray nozzle: To wet the soil before applying boiling water (helps with even heat distribution).
- ● Plastic sheeting or tarp: 4’x6’ or larger, to cover the area after treatment (keeps weeds down temporarily).
- ○ Mulch (optional but recommended): Straw, wood chips, or cardboard (2–3 inches thick) to smother regrowth after boiling.
- ● Vinegar (20–30% acetic acid): Mix 1 part vinegar to 1 part water and spray after boiling for extra kill power (best for small patches).
- ● Salt (non-iodized): Sprinkle a thin layer after boiling to deter regrowth (use sparingly—it can harm nearby plants).
- ● Label or markers: To mark treated areas if you’re working in a large garden (prevents accidental re-treatment).
- ● Safety goggles: If the weed patch is near your face or eyes (sap can irritate!).
Step-by-step instructions for eliminating onion weed with boiling water
Here's the straightforward method I use to kill onion weed permanently in my garden beds.
💧 Step 1: Identify and Prepare the Onion Weed
Onion weed (also called wild onion or garlic) has long, grass-like leaves with a distinct onion smell when crushed. Pull up any visible plants first—their roots will regrow if left behind. I focus on areas where the weed is dense, as boiling water works best when applied systematically to a concentrated patch.
Clear the area of debris and larger weeds, but leave the onion weed in place. The goal is to target the roots directly with the boiling water, so don't remove the plants until after treatment. If the area is rocky or uneven, smooth it out slightly to ensure even coverage.
✂️ Step 2: Boil Water and Apply the Barrier
Bring 4-6 quarts of water to a full rolling boil in a large pot or kettle. The water must be steaming vigorously—this ensures the heat penetrates deep enough to kill the roots. I use a heavy-duty pot with a spout for precision pouring, but a kettle works too.
Pour the boiling water directly onto the onion weed in a slow, steady stream. Start at the base of the plants and work outward in a 2-inch-wide band around the entire infested area. The water should soak into the soil at least 1-2 inches deep—you'll see steam rising from the ground as the roots are destroyed.
🌱 Step 3: Repeat and Monitor for Regrowth
Let the treated area cool completely, then repeat the boiling water application 2-3 days later. This double treatment ensures any remaining roots or underground bulbs are fully killed. I mark the treated area with small stakes or flags so I don’t accidentally retreat healthy plants later.
Watch the area for 2-3 weeks—new shoots will appear if any roots survived. If regrowth occurs, apply boiling water again to those specific spots. Healthy soil will eventually fill the gap, but the weed should be gone for good after 2-3 treatments.
☀️ Step 4: Prevent Future Onion Weed Growth
After eliminating the existing weed, prevent new growth by maintaining a 3-inch layer of mulch (like straw or wood chips) in the treated area. Mulch blocks sunlight, which onion weed needs to germinate. I also plant dense ground covers or shallow-rooted crops in the space to outcompete any lingering weed seeds.
For large garden beds, consider creating a boiling water barrier around the perimeter every 6-12 months to keep onion weed from spreading. This method works best in spring or fall when weeds are actively growing but before they go to seed.
Tips & tricks for eliminating onion weed effectively
Real talk: This method works, but only if you nail the details. Here's how to make sure you don't waste your time or energy.
Timing Secret: Apply boiling water when the soil is slightly damp—not soaking wet, but not bone dry either. Damp soil conducts heat better, ensuring the boiling water penetrates deep enough to kill those stubborn onion weed roots. I usually water the area lightly the day before treatment to prep the soil. The 2-3 day gap between treatments gives the soil time to absorb moisture again, which helps with heat penetration during the second application.
Equipment Upgrade: Don't skimp on your boiling pot—use something with a spout or pour spout for precision. A heavy-duty pot like a stainless steel stockpot handles the high heat better and pours more steadily than a thin kettle. I've tried using a regular tea kettle, and trust me, you'll end up with splashes everywhere. Also, keep a towel handy for when you inevitably spill some boiling water on yourself or your garden tools.
Visual Cue for Success: After applying the boiling water, you should see steam rising from the soil for at least 30 seconds in the treated area. If the steam disappears immediately, you didn't pour enough water or the soil wasn't damp enough. Aim for that good, steady stream of steam—it's your confirmation that the roots are getting the heat treatment they need. This visual cue helps you judge whether you need to reapply in certain spots.
Prevention Pro Tip: When creating that perimeter barrier for large garden beds, make it at least 3 inches wider than your current weed patch. Onion weed spreads through underground bulbs that can lie dormant for years, so you want to create a buffer zone. I mark my barrier with small flags or stakes right after treatment so I remember where I've already applied the boiling water—nothing worse than treating the same spot twice and wasting water, or worse, scorching your plants.
Pro Tips for Get Rid Of Onion Weed
- Real talk: This method works, but only if you nail the details. Here's how to make sure you don't waste your time or ...
- Timing Secret: Apply boiling water when the soil is slightly damp—not soaking wet, but not bone dry either. Damp soil...
- Equipment Upgrade: Don't skimp on your boiling pot—use something with a spout or pour spout for precision. A heavy-du...
Frequently asked questions
How long does it take for onion weed to die after using boiling water?
Onion weed typically wilts within minutes and dies within 24–48 hours after boiling water treatment. For best results, reapply to regrowth if any sprouts appear. The roots decompose over 1–2 weeks, so monitor the area for new shoots.
Is boiling water safe for other plants nearby?
Boiling water is highly targeted but can harm nearby plants if spilled. Use a small pot or cup to pour directly onto the weed’s base. Avoid treating areas with delicate vegetation, and keep pets/kids away until the water cools.
What’s a natural alternative if I don’t have boiling water?
Try these DIY methods:
- Vinegar spray: Mix 1 gallon white vinegar + 1 cup salt + 1 tbsp dish soap. Spray on weeds (reapply weekly).
- Salt barrier: Sprinkle coarse salt around the weed’s base (avoid lawns—it harms grass).
- Manual removal: Pull weeds early (before they seed) with gloves, then dispose of them in trash (not compost).
Will onion weed grow back after treatment?
Yes, but not if you’re thorough! Onion weed has deep roots, so dig out any remaining fragments after boiling. For stubborn patches, repeat treatments every 3–5 days until no new growth appears. Mulching with cardboard or newspaper can prevent regrowth.
Is onion weed poisonous to pets or humans?
Onion weed (Allium vineale) is non-toxic but can irritate skin if handled roughly (wear gloves!). However, its bulbs contain mild allium compounds—similar to onions—that may upset pets’ stomachs if ingested in large amounts. Keep pets away during treatment and dispose of weeds properly.
Wrapping up and next steps
Say goodbye to stubborn onion weed for good! With a simple boiling water barrier, you can destroy those pesky roots and reclaim your garden without harsh chemicals. Consistency is key—stay vigilant, and soon your yard will be weed-free and thriving.
Ready to take action? Grab your supplies, follow the steps, and enjoy a cleaner, healthier garden in no time! 🌱✨