
How To
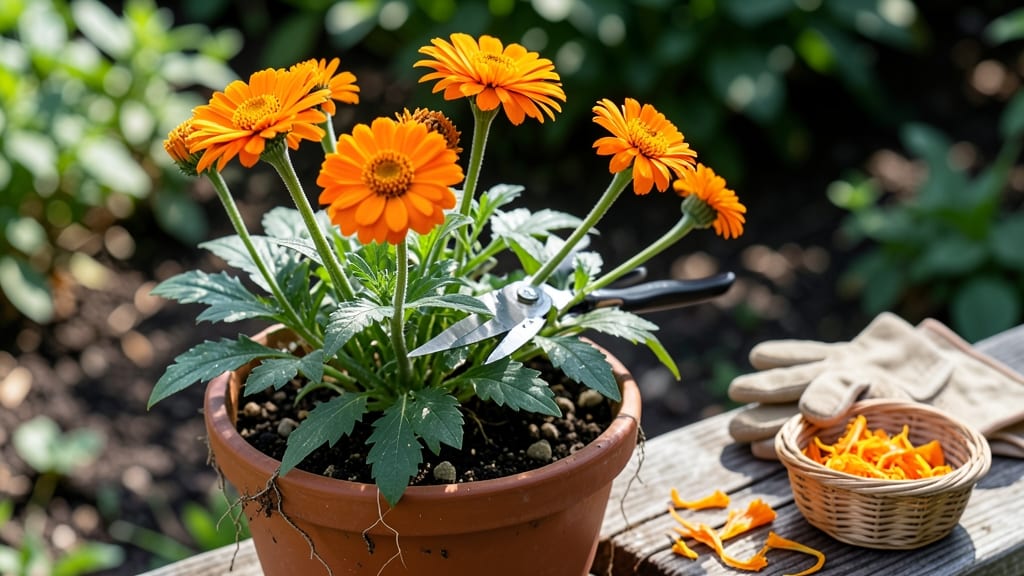
Harvesting calendula for tea at the wrong time can turn your golden blooms into a bitter, weak brew—leaving you disappointed after all that garden work. The secret lies in picking those vibrant 🌼 petals at their peak, when their anti-inflammatory and skin-soothing properties shine brightest.
You’ve spent months nurturing your calendula plants, and now it’s time to reap the rewards—literally. Whether you’re growing in USDA Zone 6a or beyond, knowing exactly when to harvest (June through October) and how to dry them properly ensures every cup of tea packs maximum flavor and potency.
I’ll walk you through the 3-step process—from identifying the perfect bloom stage to drying and storing your calendula—so you can enjoy a soothing, homegrown remedy all season long. No more guesswork, just fresh, potent tea every time.
Ready to turn your garden into a medicine cabinet? Let’s get started with the timing and techniques that make all the difference.
The perfect time to harvest calendula flowers for tea (with flower stage guide)
Harvesting calendula at the right flower stage is everything when making herbal tea. Overripe flowers taste bitter, while underripe ones lack the anti-inflammatory compounds you want. The key is picking fully bloomed petals—bright orange or yellow—when the center just starts showing its mature hue.
This balance ensures maximum flavor and potency in your brew.
Timing matters too: harvest early morning after dew has dried but before the sun peaks. This preserves the essential oils that give calendula its soothing properties. Avoid harvesting after rain, as damp petals dry poorly and can develop mold.
For the best tea, focus on sunny, dry days between June and October, when calendula thrives in USDA Zone 6a.
🌼
| Flower Stage | Appearance | Harvest Readiness | Tea Quality |
|---|---|---|---|
| Bud Stage | Tightly closed petals, green tips | ❌ Not ready | Bland, underdeveloped flavor |
| Partially Open | Petals just beginning to unfurl, pale color | ⚠️ Marginal | Mild, weak infusion |
| Fully Bloomed | Bright orange/yellow petals, center yellowing | ✅ Perfect | Rich, potent tea with full flavor |
| Overripe | Brown edges, wilting petals | ❌ Avoid | Bitter, harsh taste |
When harvesting, use clean, sharp scissors or pruners to snip stems just above a leaf node. This encourages more blooms and keeps your plant healthy. Avoid tugging petals by hand, as this can damage the plant and reduce future harvests.
For tea-making, focus on the outer petals, which contain the highest concentration of beneficial compounds.
Pro tip: Harvest every 2-3 days during peak bloom to maintain a steady supply. If you miss a harvest window, calendula will still produce flowers, but their quality for tea will decline.
The earlier in the season you start harvesting, the more potent your tea will be, as younger plants concentrate their beneficial compounds more effectively.
To maximize your harvest, pair calendula with companion plants like basil or marigolds. These plants deter pests, allowing your calendula to focus energy on blooming rather than defense. Just avoid overcrowding—calendula needs 12-18 inches of space to thrive and produce abundant petals for your tea stash.
🌞
After harvesting, the next critical step is drying. But before you dry, remove any damaged or wilted petals and discard them. Only use the freshest, most vibrant blooms for your tea. The drying process is where you lock in that peak flavor and potency—so don’t rush it.
We’ll cover the best drying methods in the next section to ensure your calendula tea stays aromatic and effective for months.
✂️
The perfect time to harvest calendula flowers for tea (with flower stage guide)
Harvesting calendula at the right flower stage is everything when making tea. The peak potency happens when petals are fully open but before they brown—this ensures maximum flavor and medicinal compounds.
I’ve learned the hard way that harvesting too early (closed buds) or too late (wilted blooms) turns your tea bitter or weak.
Morning is the best time of day to harvest because dew has evaporated, and the petals are dry. This prevents mold during drying. Use clean, sharp scissors to snip stems about 2 inches below the flower head, leaving lower leaves on the plant to keep it producing.
Look for these 3 key signs of readiness: bright orange-yellow petals, a slightly yellow center, and firm stems. Avoid flowers with brown edges or pale centers—these are past their prime and will make your tea taste dull.
For continuous harvests, I recommend cutting 30-50% of blooms at a time to encourage more flowers. Calendula thrives in full sun and well-draining soil, so if your plants are struggling, check for overcrowding or poor drainage—these can delay blooming and reduce tea quality.
Pro tip: If you’re growing calendula for both tea and medicinal salves, prioritize the brightest, freshest blooms for tea. Save slightly older flowers for salves—they still retain their anti-inflammatory properties even after drying.
Seasonal timing matters too! In USDA Zone 6a, I harvest from June through October, avoiding early spring or late fall when blooms are sparse. Always harvest on dry, sunny mornings to preserve the essential oils that give calendula tea its signature warmth.