
How To
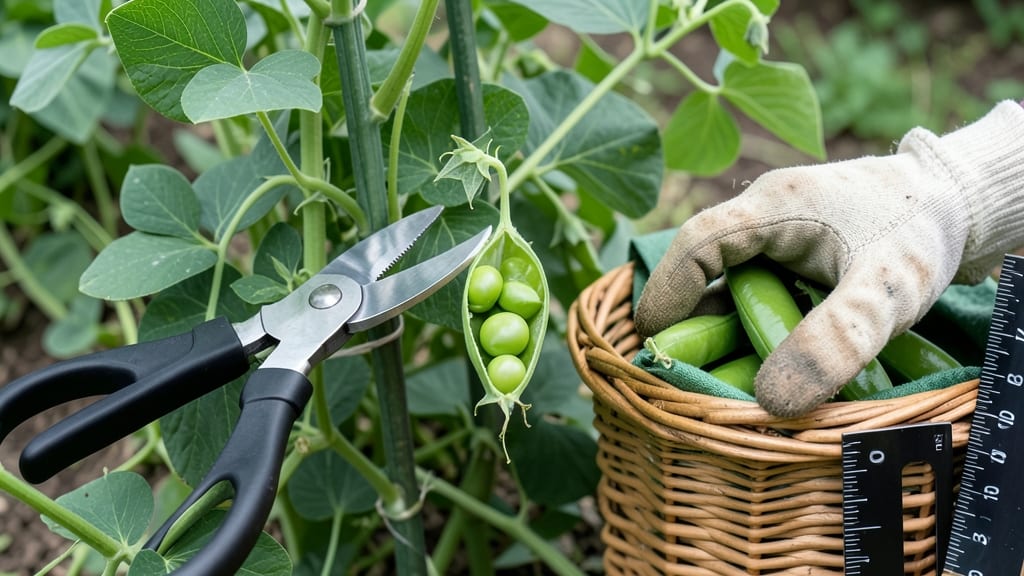
How to know when peas are ready to pick can mean the difference between a bursting harvest and a missed opportunity—because those sweet, tender pods don’t wait forever. The right moment arrives faster than you think, and missing it means tough, stringy peas that ruin even the best garden plans. Whether you’re growing snap peas for crisp crunch or shelling peas for buttery perfection, spotting the perfect ripeness is an art that saves your crop.
Most gardeners focus on size or color, but the real secret lies in how the pods feel and look when you run your fingers over them. A quick check can tell you if your peas are ready to pick or still need a few days to mature.
I’ll show you the 4 key visual cues that even experienced gardeners sometimes overlook—and how to apply them to different pea varieties for the best flavor and yield.
Timing matters more than you’d expect. Harvest too early, and you’ll end up with tiny, underdeveloped pods. Wait too long, and you’ll get tough, woody peas that no one wants. The good news?
With just a little practice, you’ll train your eyes to spot the ideal moment—when pods are plump, vibrant, and ready to be turned into meals. Let’s dive into the simple tricks that’ll make your pea harvest effortless.
From snap peas to shelling varieties, each type has its own signals, and I’ll break down exactly what to watch for. By the end, you’ll never second-guess whether your peas are ready—just grab your basket and enjoy the rewards of a perfectly timed harvest.
Your garden (and your taste buds) will thank you!
4 Visual cues to identify perfectly ripe peas (by variety)
Peas are deceptive little plants—they grow fast but hide their ripeness behind subtle clues. The key to a flavorful harvest lies in understanding three critical visual cues: pod size, color, and texture.
Each pea variety (snap, snow, or shelling) has its own ideal ripeness window, and missing it means tough, stringy, or shriveled peas. Let’s break down what to look for in each case.
First, pod size is your best friend. For snap peas, aim for pods that are 1-2 inches long and slightly swollen.
These should feel plump but not lumpy. Snow peas are ready when pods are 2-3 inches long and flat, while shelling peas need pods that are 2-2.5 inches long and rounded. Overlooking size leads to peas that are either underdeveloped or overmature.
Next, color consistency tells you everything. Ripe peas should be bright green and glossy, not pale or yellowing. A dull or mottled color means the pea is past its prime.
For snow peas, the edges should stay crisp and green, while shelling peas may show slight darkening at the seams—this is normal and indicates ripeness.
Don’t forget to check pod texture. Gently squeeze a pea pod—it should yield slightly under pressure but not feel mushy. A firm pod that doesn’t give at all means it’s too young, while a soft or wrinkled pod signals overripeness.
This tactile test is the secret weapon of experienced gardeners.
| Pea Variety | Pod Size | Color | Texture | Harvest Tip |
|---|---|---|---|---|
| Snap Peas | 1–2 inches | Bright green | Firm but yields slightly | Pick before pods bulge |
| Snow Peas | 2–3 inches | Glossy green | Flat, crisp edges | Harvest when flat |
| Shelling Peas | 2–2.5 inches | Darkening seams | Slightly soft | Pick when peas inside are plump |
A common mistake is waiting until peas pop open easily—this means they’re overripe. For shelling peas, the inside peas should be plump but not fully rounded.
If you see yellowing pods or dried-out vines, it’s too late. The best time to harvest is morning after dew dries, when flavors are at their peak.
Pro tip: Check your peas every 2-3 days once pods start forming. Frequent checks prevent missed harvests. If you’re unsure, pick a few pods to taste-test—this builds your intuition over time. Remember, timely harvesting encourages more production, so don’t wait for "perfection"!
One final clue: look at the peas inside. For shelling peas, the peas should be visible but not filling the pod. If they’re crowded or shriveled, the pod is past its prime.
This inside check is especially useful for bush peas, which mature faster than vining varieties.
Now that you know what to look for, your next harvest will be crisp, sweet, and abundant. The key is acting fast—once you spot those bright green pods, grab your scissors and start picking! 🌱
4 Visual cues to identify perfectly ripe peas (by variety)
Peas are deceptive little plants—they look ready long before they actually are! The key to a sweet, tender harvest lies in recognizing 4 subtle visual cues that differ by variety.
Snap peas, snow peas, and shelling peas each have unique signals, and missing them means either tough pods or shriveled peas inside.
First, let’s tackle the most common mistake: assuming all peas share the same ripeness signs. Snap peas need crisp pods with plump peas inside, while snow peas should remain flat and tender.
Shelling peas? Their pods should bulge but not harden. Ignoring these differences leads to overripe peas that turn mealy or stringy.
🌱 Pea Ripeness Guide by Variety
| Variety | Pod Size | Color | Texture | Peas Inside |
|---|---|---|---|---|
| Snap Peas | 1.5–2 inches | Bright green | Firm but yields slightly | Plump, visible |
| Snow Peas | 2–3 inches | Sage green | Tender, flat | Tiny, barely formed |
| Shelling Peas | 2–3 inches | Green to yellowing | Round, slightly soft | Fully developed |
💡 Pro Tip: Check pods every 2–3 days—peas ripen faster in cool weather (below 75°F).
For snap peas, the pod should be 1.5–2 inches long with a slight curve. Press gently—if it yields slightly (like a ripe cucumber), it’s ready.
Overripe snap peas develop yellow seams and tough skins. Snow peas, on the other hand, stay flat and never bulge—pick them when they’re 2–3 inches long and still tender enough to bend.
Shelling peas are trickier because their pod color changes last. Start harvesting when pods turn bright green and the peas inside are fully formed but still tender. Wait too long, and the pods turn yellowish, while the peas inside shrink and toughen.
I once left shelling peas one week past ripe—the result? Shriveled, mealy peas that tasted like sawdust.
Pay attention to the pod seams too. On snap and shelling peas, the seam should be slightly raised but not split. If it opens or the pod feels spongy, you’ve missed your window. For snow peas, the seam stays closed and smooth—any bulging means it’s overripe.
Finally, check the peas inside (yes, you’ll need to snap one open!). For snap peas, the peas should fill half the pod. Snow peas? Almost empty-looking pods with tiny peas.
Shelling peas? The peas should be round and plump, not shriveled. This step saves you from bitter, stringy peas that ruin dishes.
Remember: Timing is everything. Harvest snap and snow peas in the morning for peak crispness, and shelling peas when the pods are firm but yielding. Miss these cues, and you’ll end up with underwhelming harvests—or worse, no harvest at all if the plants stop producing. 🌱