
Propagation
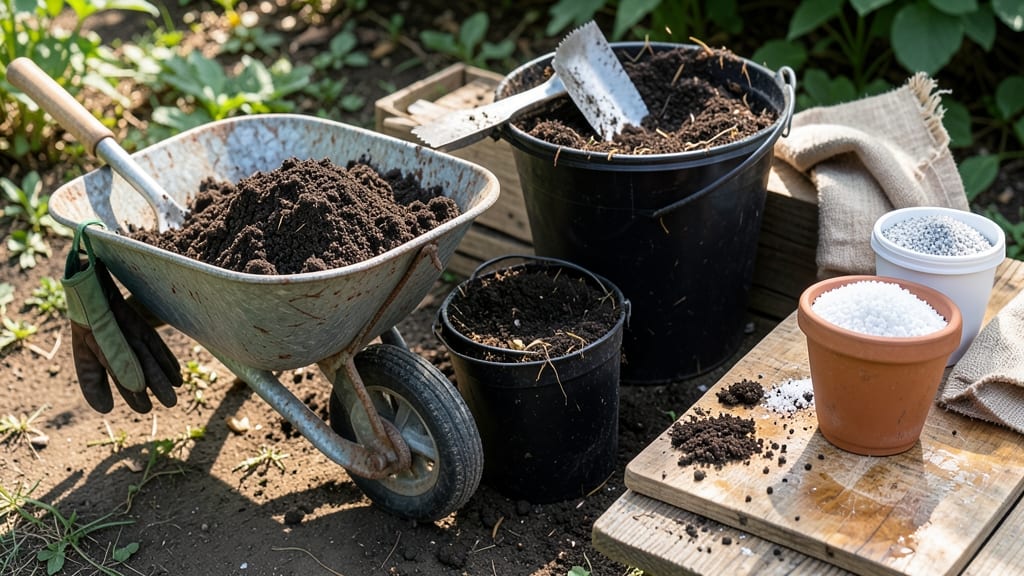
Your garden soil holds hidden potential for container plants. 🌱 I’ve transformed heavy, compacted dirt into light, fluffy potting mix that keeps roots happy and blooms thriving—no store-bought bags required. The secret lies in balancing texture, nutrients, and drainage, while baking out pests and diseases for a fresh start.
You’ll need garden soil (sterilized), compost (for nutrients), perlite or vermiculite (for aeration), and a shovel or wheelbarrow to mix. The magic ratio is 50% soil, 30% compost, 20% perlite, but adjust based on your plants’ needs—succulents crave more grit, while veggies prefer richer blends.
A baking sheet or large pot helps sterilize the mix if your soil’s packed with weeds or pathogens.
After blending, your mix should crumble like damp cake crumbs—not sticky or powdery. This texture encourages root spread and prevents waterlogging, which is why container plants grow stronger and faster than in heavy garden soil.
The best part? You’ll save money and reduce waste by repurposing what’s already in your yard.
Pro tip: Sift the mix before use to avoid clumps, and store extras in a clean bucket with a lid to keep it fresh. Over time, you’ll notice fewer wilting leaves, healthier transplants, and a custom blend tailored to your garden’s unique needs. Ready to turn dirt into gold?
📚 In This Guide
- What you need
- Instructions
- Tips and common mistakes
- Wrapping up and next steps
What you need
- ● Garden soil: 5–7 gallons (enough to fill your container or bag). Choose well-draining, loose soil without large rocks or debris.
- ● Compost or aged manure: 1–2 gallons (for organic matter and nutrients). Look for well-decomposed compost to avoid introducing weeds or pathogens.
- ● Perlite or vermiculite: 1–2 cups (to improve aeration and drainage). Perlite is lightweight; vermiculite retains moisture better.
- ● Peat moss or coconut coir: 1–2 cups (for moisture retention and structure). Coconut coir is a sustainable alternative to peat moss.
- ○ Optional sterilization agent: Bleach (unscented, 5–10% sodium hypochlorite): 1 part bleach to 9 parts water (for sterilizing soil). Use sparingly and rinse thoroughly afterward.
- ● Boiling water: Enough to saturate the soil (for a natural sterilization method).
- ● Garden gloves: To protect your hands from dirt and sharp objects.
- ● Garden trowel or shovel: For collecting soil and mixing ingredients.
- ● Large bucket or wheelbarrow: To hold and mix your potting soil blend (5–10 gallons capacity).
- ● Screen or mesh (¼-inch or smaller): To sift out rocks, debris, and clumps for a smooth texture.
- ● Spray bottle or hose: For moistening the mix or rinsing sterilized soil.
- ○ pH testing kit (optional): To check soil acidity/alkalinity. Aim for a pH of 6.0–7.0 for most plants.
- ● Test your garden soil first! If it’s heavy clay or sandy, adjust the perlite or compost ratio to balance texture.
- ● Sterilize only if necessary: Skip this step if your garden soil is already disease-free and well-draining.
- ● Customize for your plants: Add worm castings for extra nutrients or sand for cacti/succulents.
Tips & tricks for perfect custom potting mix
A few key strategies will help you create a superior growing medium that outperforms anything you can buy.
Sterilization Safety: When baking your garden soil at 200°F for 30 minutes in Step 1, spread it on a rimmed baking sheet to prevent spills. Line the sheet with aluminum foil for easy cleanup—this prevents soil from sticking to the pan and makes removal effortless. The goal is complete sterilization without burning organic matter, so avoid overcrowding the tray.
Compost Quality Check: In Step 2, look for compost that's dark brown with visible decomposition (no visible chunks of leaves or wood). If your compost smells strongly of ammonia or has visible mold, age it longer or source better-quality compost. The 6-month minimum aging period ensures weed seeds and pathogens are inactive while preserving nutrients.
Moisture Test Technique: For Step 3's moisture test, squeeze a handful of your mix—it should hold together when pressed but crumble easily when you open your hand. Think of it like damp sand at the beach: firm enough to hold shape but not sticky. This texture ensures proper aeration while retaining enough moisture for root growth. The 10-15 minute drainage test is critical for preventing root rot.
Storage Extension: To maximize your mix's 6-12 month shelf life, store it in containers with tight-sealing lids. Add a layer of plastic wrap directly on the mix surface before sealing to create an airtight barrier. This prevents moisture loss and contamination while keeping the structure intact for months.
Pro Tips for Make Potting Mix From Garden Soil
- A few key strategies will help you create a superior growing medium that outperforms anything you can buy.
- Sterilization Safety: When baking your garden soil at 200°F for 30 minutes in Step 1, spread it on a rimmed baking sh...
- Compost Quality Check: In Step 2, look for compost that's dark brown with visible decomposition (no visible chunks of...
Frequently asked questions
Got questions about turning garden soil into the perfect potting mix? You’re not alone! Here are answers to the most common concerns—so you can DIY with confidence.
Can I use any garden soil for potting mix?
Not all soil works! Avoid heavy clay or compacted soil—it drains poorly and can suffocate roots. Look for loamy, well-draining soil with organic matter (like compost or decomposed leaves). If your garden soil is rocky or sandy, amend it with coconut coir or peat moss to improve structure.
How long does it take to sterilize garden soil?
Sterilization depends on the method:
- Baking (oven): 30–60 minutes at 200°F (93°C).
- Microwave: 5–10 minutes per batch (stir halfway!).
- Boiling water: 20–30 minutes (ensure all clumps are submerged).
What if my potting mix smells bad after mixing?
A slight earthy scent is normal, but rotten or sulfur-like odors mean excess moisture or anaerobic bacteria. Fix it by:
- Adding perlite or vermiculite (10–20%) to improve aeration.
- Mixing in dry compost or orchid bark to balance moisture.
- Letting the mix air out for 24–48 hours before use.
Can I skip sterilizing if I’m growing hardy plants?
For tough plants like succulents or ornamental grasses, sterilization isn’t always critical—but it’s still wise to sift and amend your soil. Pathogens (like fungal spores) can lurk in garden soil, even if the plant survives. Seedlings and delicate plants (e.g., herbs, veggies) require sterilized mix to prevent damping-off disease.
What’s the shelf life of homemade potting mix?
Store your mix in a sealed container (like a plastic bin with a lid) in a cool, dry place (e.g., basement or garage). With proper sterilization, it lasts:
- 3–6 months for organic-heavy mixes (compost, peat).
- 6–12 months for mineral-based blends (perlite, sand).
Wrapping up and next steps
Creating your own potting mix from garden soil is a rewarding way to nurture your plants while reducing waste! 🌱 By sterilizing, blending, and enriching your soil, you’ve crafted a nutrient-packed foundation that promotes healthy growth.
Don’t stop here—experiment with additives like compost or perlite to tailor the mix to your favorite plants.
Now that you’re equipped with the know-how, grab your shovel and start blending! Your green thumb is ready—let’s grow something amazing together. 🌿