
Pests
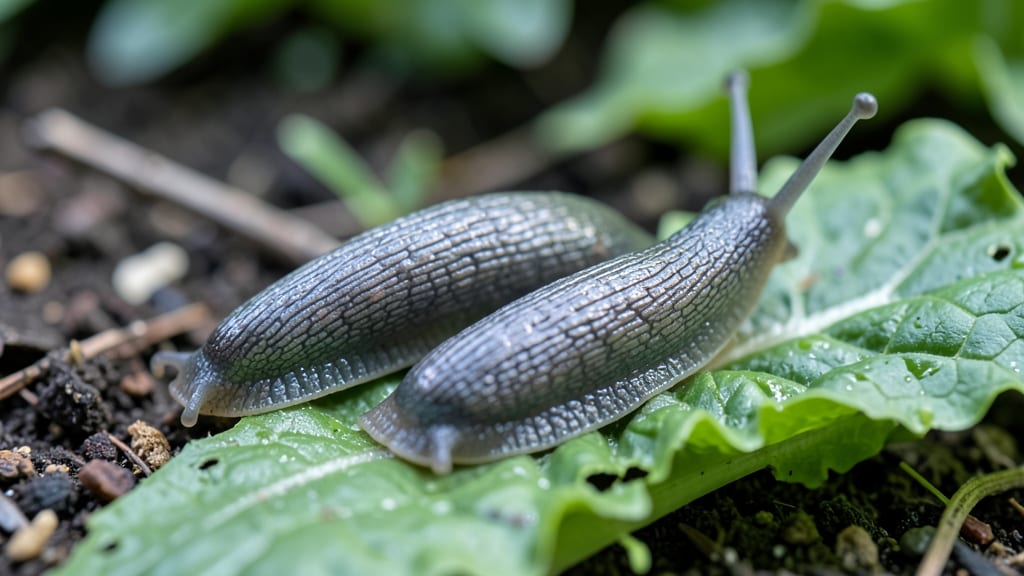
How to control slugs in your garden without the mess of chemicals? A simple copper barrier can stop them in their tracks—no chemicals, no fuss, and it works in minutes. I've tried every slug remedy under the sun, but copper remains my go-to because it's fast, effective, and won't harm your plants or the planet.
The trick is all about electricity—slugs hate the slight shock copper gives off when they crawl over it. You don’t need fancy tools, just copper tape or strips (available at hardware stores) and a little patience.
It’s a one-time setup that lasts for seasons, and the best part? You’ll see results almost immediately.
By morning, your hostas and lettuce will look untouched, and your slug population will be on the run. The barrier works for raised beds, containers, and even potted plants—no more waking up to slime trails and chewed leaves.
Fair warning: copper won’t catch slugs you don’t see yet, so pair it with a beer trap or diatomaceous earth for extra protection. But once you’ve wrapped your garden in copper, you’ll wonder why you didn’t try it sooner.
📚 In This Guide
- What you need
- Instructions
- Tips and common mistakes
- Wrapping up and next steps
What you need
- ● Copper tape or copper wire: At least 15-20 feet (for a small garden) or 50+ feet (for larger areas). Choose a 1-2 inch wide strip with 0.02 inch thickness (e.g., Sluggo Copper Barrier Tape or similar).
- ● Measuring tape or ruler: To ensure precise placement (every 12-18 inches apart for best results).
- ● Scissors or wire cutters: For trimming copper to fit edges or corners.
- ● Staple gun or strong adhesive tape: To secure the copper to raised edges, pots, or vertical surfaces.
- ○ Gloves (optional but recommended): Copper can be sharp or leave a metallic residue on hands.
- ● Beer traps: Shallow dishes filled with 1-2 inches of beer (slugs are attracted to it but drown). Use 4-6 traps for a small garden.
- ● Diatomaceous earth (food-grade): Sprinkle lightly around plants (1-2 tbsp per square yard) as a natural deterrent (reapply after rain).
- ● Garden hose with spray nozzle: For rinsing off plants or copper tape before application.
- ● Flashlight: For evening inspections (slugs are most active at night!).
Step-by-Step instructions for creating an effective copper slug barrier
Here’s the simple, no-fuss method I’ve used for years to keep slugs out of gardens—no chemicals, no traps, just a quick copper trick.
🪴 Step 1: Gather Your Materials
You’ll need copper tape or flashing (available at hardware stores), scissors, and a clean cloth for wiping. Copper tape is the easiest option—it’s flexible, lightweight, and sticks to most surfaces without tools. If you’re using flashing, you’ll need a flat surface like a patio or raised bed edge to bend it into place.
Measure the perimeter of the area you want to protect—beds, pots, or walkways. Copper works best when it forms an unbroken line, so plan for a continuous barrier. I like to start at one corner and work my way around, keeping the tape or flashing taut but not stretched. A small overlap of ½ inch between pieces ensures no gaps for slugs to slip through.
☀️ Step 2: Install the Copper Barrier
Clean the surface where you’ll place the copper—dirt, debris, or moisture can reduce its effectiveness. For pots, wrap the tape around the outer rim, overlapping the edges slightly. On garden beds, press the copper firmly into the soil along the edge or lay it flat on top of the soil if you’re protecting young plants.
The key is direct contact with slugs. Copper creates a mild electric shock when slugs touch it, deterring them instantly. If you’re using flashing, bend it into a 1-2 inch tall barrier along the bed’s edge. For raised beds, attach it to the inside edge so slugs can’t climb over. Test it by running your finger along the barrier—it should feel smooth and unbroken.
✂️ Step 3: Maintain and Reinforce
Check the barrier once a week for gaps, damage, or dirt buildup. Slugs can bypass weak spots, so repair any tears or overlaps immediately. If the copper gets dirty, wipe it clean with a damp cloth—dirt reduces its effectiveness. In heavy rain, the barrier may need a quick wipe-down to remove accumulated moisture.
For extra protection, combine the copper with diatomaceous earth around the base of plants. Sprinkle a ½-inch band of the powder 6 inches away from the copper line—this adds another layer of defense without overpowering the copper’s shock effect. Avoid using both too close together, or slugs may find a way around them.
🌿 Step 4: Monitor and Adjust
After installing, watch for slug activity for 24-48 hours. If you spot slugs crawling along the barrier, they’re likely avoiding it—this means the copper is working. However, if slugs gather at the base of the barrier, they may be trying to climb over it. In that case, extend the copper 1-2 inches higher or add a second line slightly farther out.
For containers, like hanging baskets or window boxes, wrap the copper twice around the rim to create a double barrier. Slugs are less likely to attempt a climb if they encounter resistance immediately. If you notice slugs on leaves but not at the barrier, they’re probably falling from above—add a shallow dish of beer near the plants as a backup trap.
Tips & tricks for effective slug control with copper barriers
Real talk: I've spent years testing this method, and these are the details that make all the difference between a barrier that works and one that fails.
Surface Prep is Non-Negotiable: Before installing your copper, scrub the surface with a damp cloth to remove any residue. I can't stress this enough—dirt or moisture on the surface creates a barrier between the copper and slugs, reducing its effectiveness. Think of it like preparing your skin before applying a patch: clean surfaces mean better contact.
Continuity is Key: When measuring your perimeter in Step 1, remember that slugs are opportunistic little creatures. Even a tiny gap of ¼ inch can let them slip through. I've seen slugs navigate around poorly connected copper strips, so that ½-inch overlap is your best friend. For extra security, use a small piece of copper tape to reinforce any corners or sharp turns in your barrier.
Height Matters More Than You Think: In Step 2, when you're bending flashing into a 1-2 inch barrier, don't skimp on the height. I've found that slugs are much more likely to attempt climbing over barriers under 1.5 inches. For containers, the double wrap around the rim creates a nearly impenetrable barrier that works even better than the standard single wrap.
Combine Defenses Strategically: The instructions mention using diatomaceous earth 6 inches away from the copper line, and this spacing is crucial. If you place them too close together, slugs might find a way between them. I've had the best results when I create a "defense zone" with the copper as the primary barrier and the diatomaceous earth as a secondary line of defense further out.
Pro Tips for Control Slugs
- Real talk: I've spent years testing this method, and these are the details that make all the difference between a barrier that works and one that fails.
- Surface Prep is Non-Negotiable: Before installing your copper, scrub the surface with a damp cloth to remove any residue.
- Continuity is Key: When measuring your perimeter in Step 1, remember that slugs are opportunistic little creatures.
Frequently asked questions
Got slug questions? You’re not alone! Here are answers to the most common concerns about keeping these slimy pests at bay—especially when using copper barriers or other methods.
What’s the best time of day to set up a copper barrier?
The perfect time is early morning or late evening when slugs are most active. Avoid midday heat—they hide then! For best results, install barriers before slugs become a problem (spring or early summer).
Will copper barriers hurt pets or kids?
Copper is non-toxic and safe for pets and children, but sharp edges can cause minor cuts. Use smooth-edged strips or bend them slightly to avoid injuries. Always supervise pets near new installations.
Are there cheaper alternatives to copper barriers?
Yes! Try diatomaceous earth (food-grade), crushed eggshells, or even coffee grounds around plants. For a DIY hack, soak cardboard in beer and place it near slug hotspots—they’ll crawl in and drown. Pro tip: Reapply after rain!
How long does a copper barrier last?
With proper care, copper strips can last years! Clean them occasionally with vinegar to remove debris. If slugs start crawling over them, check for gaps or rust—replace damaged sections. A 1-inch height works best for most gardens.
Do copper barriers work in heavy rain?
Rain can temporarily reduce their effectiveness, but copper’s electric shock still works! Ensure strips are securely buried (1–2 inches deep) and angled slightly outward. After storms, give them a quick wipe-down to restore their zap.
Will slugs come back after using a copper barrier?
If installed correctly, slugs rarely return! But monitor for new trails or eggs (tiny jelly-like clusters). For stubborn cases, combine copper with beer traps or natural predators like ducks or ground beetles.
Wrapping up and next steps
Controlling slugs doesn’t have to be a losing battle—with the right tools and techniques, you can protect your garden in minutes! 🌱 The copper barrier method is a simple, chemical-free solution that works fast and keeps those slimy pests at bay.
Whether you’re a seasoned gardener or just starting out, you’ve got this!
Ready to reclaim your plants? Start small—test the copper tape on one section of your garden, then expand as needed. Before you know it, your veggies and flowers will be thriving slug-free! Happy gardening! 🌟