
How To
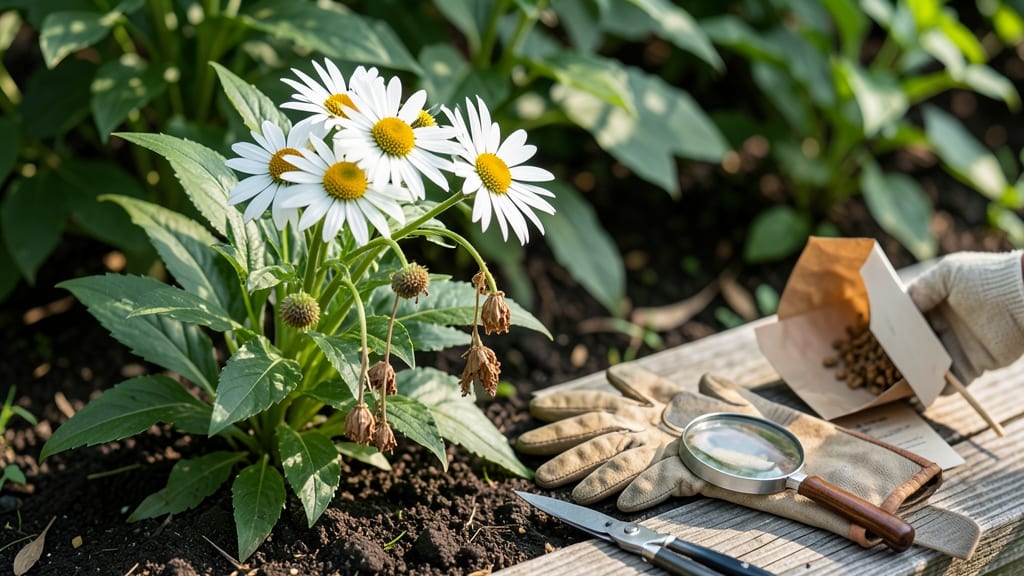
Harvesting Shasta Daisy seeds is one of the easiest ways to save money and grow next year’s blooms—if you time it right. These cheerful 🌼 flowers transform into seed heads that hold the potential for new plants, but missing the window means wasted effort.
The key is knowing exactly when those browned seed heads are ready. Too early, and you’ll get green, unusable seeds. Too late, and they’ll scatter on their own, leaving you with nothing.
I’ll walk you through the perfect timing and simple steps to collect, dry, and store seeds so you’re ready for spring planting.
Whether you’re a seasoned gardener or just starting, this method works in USDA Zone 6a and beyond. By the end, you’ll have a stash of seeds that could mean fewer purchases next year—and more daisies for your garden.
Let’s dive into the exact process so you don’t miss a single seed. Your future blooms will thank you!
When and how to identify mature Shasta daisy seed heads
Harvesting Shasta daisy seeds at the right time ensures high germination rates and healthy new plants. The key is watching for visual cues that signal maturity—like color changes and seed pod formation.
If you harvest too early, seeds won’t be viable; too late, and they’ll scatter or spoil. Let’s break down the exact signs to look for in your garden.
Start by focusing on the flower heads after they’ve finished blooming. When Shasta daisies fade from their vibrant white or pink, they’ll begin forming seed heads. These heads start green but gradually turn brown and papery.
This color shift is your first clue that the seeds are maturing. Pay close attention to the center disk of the flower—the heart of where seeds develop.
Next, check for seed pod formation. Mature seed pods should feel dry and brittle, almost like crumpled paper. If you gently squeeze a pod, it should split open easily, releasing seeds inside.
This is the ideal stage for harvesting. If the pods are still firm or green, wait a few more days—they’re not ready yet.
Here’s a pro tip: Shake the seed head over a brown paper bag. If seeds rattle inside and fall out easily, they’re fully mature. This simple test saves you from harvesting too early or too late.
Remember, patience is key—rushing the process can lead to poor-quality seeds that won’t grow.
Step-by-Step Guide to Harvesting Shasta Daisy Seed Heads
- 🌼 Wait for flower heads to fade—they should turn completely brown, not just yellow or green.
- 📜 Check for papery seed pods—they should feel dry and brittle, not firm or green.
- 🔊 Shake the seed head—if seeds rattle and fall out easily, they’re ready for harvest.
- ✂️ Cut the seed head with clean scissors or pruners, leaving a short stem.
- 🌿 Place in a paper bag—this prevents seeds from scattering and allows airflow for drying.
Timing is everything when harvesting Shasta daisy seeds. Aim to collect them in late summer to early fall, typically between August and September. This aligns with their natural growth cycle after blooming.
If you live in a warmer climate, seeds may mature earlier—adjust your schedule accordingly. Avoid harvesting after the first frost, as cold weather can damage the seeds.
One common mistake is harvesting seeds too late. If left on the plant, the seed heads may open naturally and scatter seeds everywhere. This not only wastes your harvest but can also lead to unwanted volunteer plants popping up in random spots next year.
To prevent this, harvest as soon as the seed heads are dry and ready. This ensures you capture the maximum number of viable seeds.
For best results, harvest on a dry, sunny day. This reduces the risk of mold or moisture damage during the drying process. Avoid harvesting after rain, as damp seeds are prone to spoilage.
Once you’ve collected your seed heads, store them in a cool, dry place to complete the drying process before long-term storage.
If you’re unsure whether your seeds are ready, perform a quick float test. Place a few seeds in a bowl of water—viable seeds will sink, while empty or damaged ones will float.
This simple trick helps you gauge seed quality before storage. With these steps, you’ll be well on your way to a successful seed harvest every year.
Pro tip: Label your seed heads with the variety name and harvest date. This makes it easier to track which seeds you’ve collected and ensures you don’t mix varieties. Over time, you’ll build a personal seed library tailored to your garden’s needs.
Best methods for harvesting and drying Shasta daisy seeds
Once you’ve identified mature Shasta daisy seed heads, the next critical step is harvesting them correctly to preserve seed viability. The method you choose—indoor drying or outdoor drying—will impact germination rates and storage success.
Rush this step, and you risk mold, insect damage, or seeds scattering before you collect them.
Timing is everything: harvest on a dry, sunny morning after the flower heads have fully browned. Use clean, sharp pruning shears to cut stems about 2-3 inches below the seed head. This prevents moisture from the stem from accelerating decay during drying.
🔹 Pro Tip: Wear gloves to avoid skin oils contaminating the seeds, which can reduce germination rates.
Indoor vs. Outdoor Drying: Pros and Cons
- Controlled humidity and temperature
- Protects from pests and mold
- Faster drying in warm, dry conditions
- Requires space and ventilation
- Risk of overheating if too close to heat sources
- Natural airflow and sunlight
- No need for artificial heat or equipment
- Ideal for large batches of seed heads
- Exposure to pests and humidity
- Slower drying in rainy or damp conditions
- Risk of seed loss from wind or animals
For indoor drying, hang seed heads upside down in a well-ventilated area like a pantry or basement. Avoid direct sunlight, which can overheat and damage seeds. Aim for a cool, dry environment (60-70°F) and allow 2-4 weeks for complete drying.
If drying outdoors, tie seed heads in small bundles and hang them in a shaded, dry location. Check daily for signs of moisture or pests. Once fully dry, seeds will easily pop out when the head is gently squeezed.
Store them in a paper envelope or glass jar with a silica gel packet to absorb excess moisture.
Never store seeds in plastic bags, as condensation can cause mold. Label each container with the harvest date and variety to track viability. With proper drying and storage, Shasta daisy seeds can remain viable for 2-3 years, though germination rates drop after the first year.
🌱 Key Takeaway: Patience is critical—rushed drying leads to poor-quality seeds. Take your time to ensure they’re bone-dry before storing!