
Planting
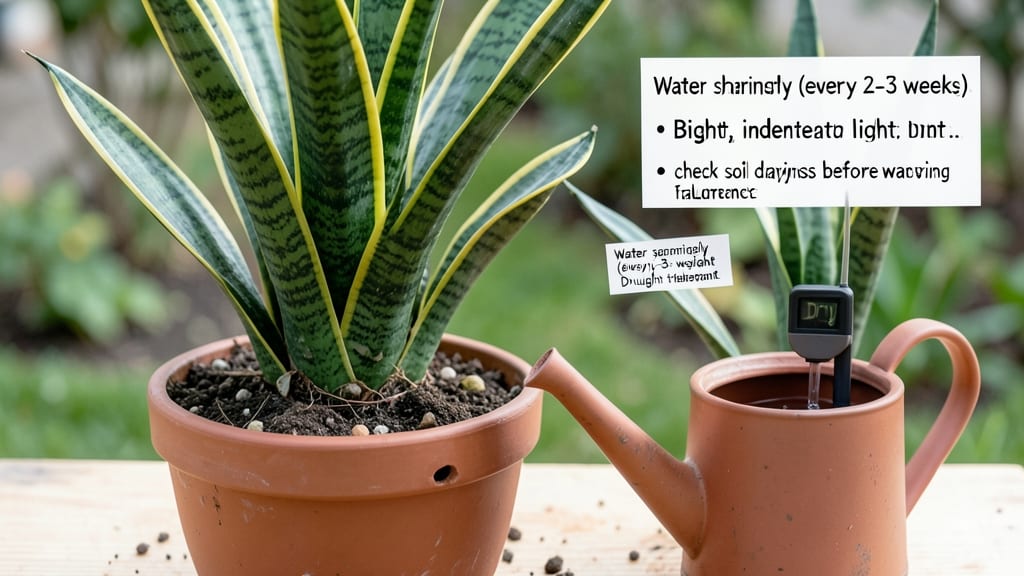
How to keep this plant alive—again. 🌱 The good news? Most plant deaths aren’t mysterious failures; they’re fixable mistakes. I’ve nursed back more droopy leaves than I’d like to admit, and the patterns are always the same: light, water, or soil playing tricks on you.
Start here: 80% of plant problems come from three things—overwatering, wrong light, or poor soil. A simple soil check (stick your finger in—if it’s dry 1-2 inches down, water; if soggy, wait) solves half the issues.
Light’s trickier: most plants need 4-6 hours of bright, indirect light daily, not dim corners.
By the end, you’ll spot stress before it’s fatal—yellow leaves mean overwatering, crispy edges mean underwatering, and sticky leaves? Pests are crashing the party. The key is prevention: a moisture meter, a grow light for low-light spots, and a weekly leaf inspection.
This works for houseplants, herbs, or even finicky succulents. No more guessing—just science-backed tweaks that keep your plants thriving. Let’s turn that black thumb around.
📚 In This Guide
- What you need
- Instructions
- Tips and common mistakes
- Wrapping up and next steps
What you need
- ● Pots or containers: Choose ones with drainage holes (or drill them yourself!). Size depends on the plant—small pots (4-6 inches) for herbs, medium (8-12 inches) for succulents, and large (12+ inches) for trees or shrubs.
- ● High-quality potting soil: Opt for a well-draining mix (e.g., cactus/succulent mix for desert plants, peat-based for tropicals). Avoid garden soil—it compacts and suffocates roots!
- ● Watering can or spray bottle: A can with a narrow spout prevents overwatering, while a spray bottle is perfect for misting ferns or air plants.
- ○ Fertilizer (optional but helpful): Start with a balanced, water-soluble fertilizer (e.g., 10-10-10 NPK ratio) or organic options like compost tea or worm castings.
- ● Trowel or small shovel: For repotting or digging holes when transplanting.
- ● Pruning shears: Sharp, clean shears (sterilize with rubbing alcohol!) to trim dead leaves or encourage growth.
- ○ Moisture meter (optional): A $10 gadget that saves guesswork—stick it in the soil to check moisture levels before watering.
- ○ Grow lights (optional): LED or fluorescent lights for low-light plants or winter sunlight shortages.
- ● A sunlight audit of your space: Identify windowsills (south-facing = most sun) and avoid drafty spots near AC/heaters.
- ● Time commitment: Most plants need attention 1–2 times per week (watering, checking soil, etc.).
- ● Patience: Plants grow at their own pace—don’t rush repotting or expect instant results!
Step-by-Step instructions for plant survival basics
Here’s the foolproof system I’ve used to keep even the trickiest plants thriving—no green thumb required.
💧 Step 1: Master the Watering Routine
Most plants die from overwatering, not underwatering. Stick your finger 1 inch deep into the soil—if it feels dry, water until moisture reaches 3-4 inches down. I use the "weight test" too: lift the pot before watering. If it feels light, it’s time; if heavy, wait another day.
Water in the morning so excess drains away and roots get oxygen. Avoid soggy soil—it suffocates roots and invites fungus. You’ll see wilting leaves first if you’re overdoing it, but yellowing leaves mean you’re drowning the plant. Adjust your schedule based on the season: plants need 30-50% less water in winter.
☀️ Step 2: Position for Light Needs
Check the plant tag or research its native habitat—most houseplants thrive in bright, indirect light, while succulents demand full sun. Place your plant near a window but avoid harsh afternoon rays, which scorch leaves. Rotate the pot a quarter turn weekly so growth stays even.
Leggy, pale stems mean it’s reaching for more light. Move it closer to the window or add a grow light if natural light is weak. Brown edges on leaves? It’s getting too much sun—shift it back a foot or use a sheer curtain. Observe for 3-5 days after moving to spot any stress signs.
🌱 Step 3: Feed and Refresh Soil
Feed plants every 4-6 weeks during growing season with half-strength liquid fertilizer. I mix mine in a spray bottle for even distribution—never overfeed, or you’ll burn roots. Flush the soil with water once a month to remove salt buildup from fertilizers.
Repot every 1-2 years or when roots circle the pot. Use a container just 1-2 inches larger—bigger pots hold too much moisture. Fresh soil gives plants a nutrient boost and prevents root-bound stress. You’ll notice new leaves forming within 2-3 weeks after repotting if the timing’s right.
✂️ Step 4: Prune for Health
Snip off yellow or brown leaves immediately—they drain energy. Use clean scissors and cut at a 45-degree angle just above a leaf node. Prune leggy growth to encourage bushier, stronger plants. I always sterilize my tools with rubbing alcohol to prevent disease spread.
Don’t remove more than 1/3 of the plant at once. Stress from heavy pruning can shock even the hardiest plants. Focus on dead or diseased parts first, then shape as needed. You’ll see new growth within 2-4 weeks if the plant is healthy—this is your reward for pruning.
🪴 Step 5: Monitor for Pests and Problems
Inspect leaves weekly for aphids, spider mites, or mealybugs. Wipe them off with a damp cloth or spray with neem oil. Isolate new plants for 2 weeks to prevent infestations. Healthy plants rarely attract pests, so strong care is your best defense.
Watch for leaf drop, spots, or wilting—these are early warning signs. Adjust water, light, or humidity immediately. Most problems fix themselves if caught early. Keep a plant journal to track changes—you’ll spot patterns (like overwatering after moving to a shadier spot) that help you troubleshoot faster.
Tips & tricks for plant survival success
Even the simplest plant care routine can be elevated with these science-backed tricks that'll keep your green friends thriving without the guesswork.
Soil Check Secret: The finger test in Step 1 works best when you do it at the same time every week. I always check just before my morning coffee—it becomes a habit that way. Pro tip: If the top inch is dry but the next 3 inches are still damp, wait another day. Overwatering is the #1 killer, and this simple check prevents it every time. The weight test is especially useful for heavier pots where visual moisture isn't obvious.
Light Rotation Strategy: That quarter turn weekly in Step 2 isn't just about even growth—it's also a great way to spot early problems. After rotating, check for any leaves that look stressed (yellowing, curling) on the newly exposed sides. This helps you catch light issues before they become serious. For plants in north-facing windows, I add a small grow light for 2-3 hours daily during winter months when natural light is weak.
Fertilizer Timing: The 4-6 week feeding schedule in Step 3 works perfectly for most plants, but here's the thing: if you notice new growth slowing down between feedings, your plant might be hungry. During summer months, I feed every 3 weeks instead—just dilute the fertilizer to half-strength to avoid burning roots. The monthly flush is non-negotiable though; I've seen salt buildup turn soil crusty and prevent water absorption.
Pruning Recovery: When you're pruning in Step 4, focus on removing only the obvious dead leaves first. Healthy leaves might look a little sad after pruning, but that's normal—they're redirecting energy to new growth. The 2-4 week recovery time is actually a great opportunity to observe your plant's natural growth patterns. I keep a small notebook by my plants and record when new leaves appear after each pruning session—it helps me understand each plant's unique rhythm.
Pro Tips for Keep Plant Alive
- Even the simplest plant care routine can be elevated with these science-backed tricks that'll keep your green friends...
- Soil Check Secret: The finger test in Step 1 works best when you do it at the same time every week. I always check ju...
- Light Rotation Strategy: That quarter turn weekly in Step 2 isn't just about even growth—it's also a great way to spo...
Frequently asked questions
Got questions about keeping your plants thriving? You’re not alone—even seasoned plant parents hit snags! Here are answers to the most common queries to help you troubleshoot and succeed.
How often should I water my plant?
Watering depends on the plant, pot size, and environment. A general rule: stick your finger 1-2 inches into the soil. If it’s dry, water thoroughly until it drains from the bottom. Overwatering is a bigger killer than underwatering—most plants prefer slightly dry soil to soggy roots. Adjust based on humidity and season!
Why are my plant’s leaves turning yellow?
Yellow leaves usually signal overwatering or nutrient deficiency. Check the soil—if it’s damp, hold off on watering. If the yellowing starts at the bottom, it’s often natural aging. For nutrient issues, fertilize lightly with a balanced plant food. Brown edges? That’s often underwatering or low humidity.
Can I save a plant that’s been neglected for weeks?
Sometimes! First, stop watering and let the soil dry out completely. Trim any mushy roots and repot in fresh, well-draining soil. Place it in bright, indirect light and water sparingly at first. Prayers (and patience) help—some plants bounce back, while others may not. Start with hardy varieties like snake plants or ZZ plants if you’re new to revival missions!
What’s the best spot for my plant indoors?
Most houseplants thrive in bright, indirect light near a window (but not direct sun, which can scorch). Rotate your plant weekly for even growth. Avoid drafts (like AC vents or heaters) and cold windowsills. If leaves look pale or stretched, it’s not getting enough light. Dark corners? Opt for low-light plants like pothos or cast iron plants.
How do I know if my plant is getting enough sunlight?
Watch for these clues:
- Too little light: Leggy stems, small leaves, or yellowing.
- Just right: Healthy green leaves, steady growth, and vibrant color.
- Too much light: Brown patches, crispy edges, or bleached spots.
Can I use tap water for my plants?
It depends! Tap water with high chlorine, fluoride, or salts can harm plants over time. If your water is hard (check with a quick test), let it sit out for 24 hours before watering or use filtered/rainwater. Signs of tap water issues: brown tips or white crust on soil. For sensitive plants (like calatheas), distilled water is ideal!
Wrapping up and next steps
Keeping your plants alive boils down to understanding their basic needs—light, water, soil, and a little love! 🌱 With the right knowledge and a patient approach, you’ll soon be nurturing thriving greenery like a pro.
Start small, observe your plants closely, and don’t hesitate to adjust care as you learn what works best.
Ready to take the next step? Pick one plant—maybe a hardy succulent or a low-maintenance snake plant—and put these tips into action. Before you know it, your space will be bursting with life, and you’ll be the plant whisperer your friends admire! 🌟