
Tools
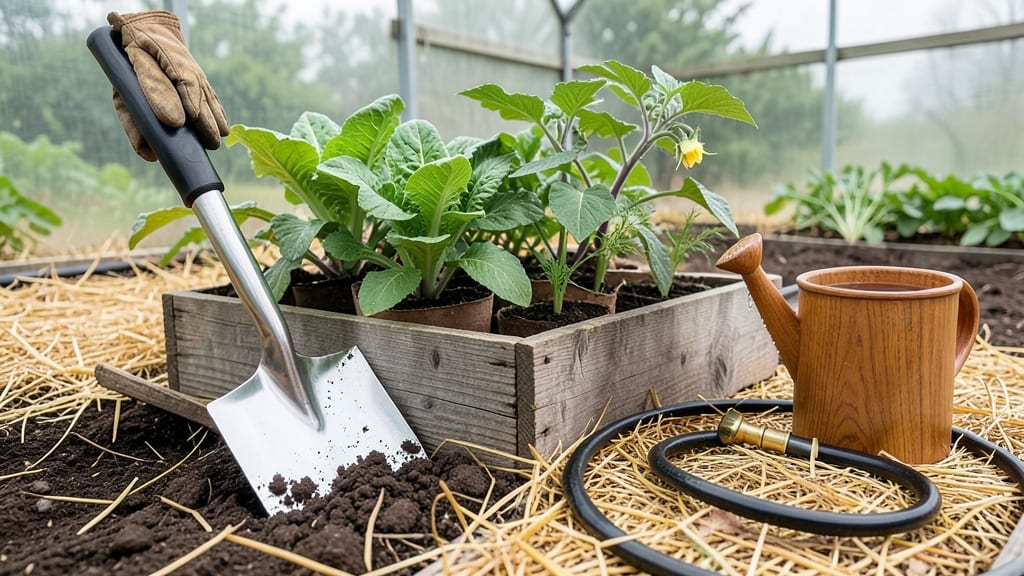
Building a backyard garden starts with a blank slate and a vision—mine took shape on a rainy afternoon when I finally measured that patch of grass I’d been ignoring for years. 🌱 The key isn’t perfection; it’s matching your space, sunlight, and energy to what you actually want to grow.
My first garden was a chaotic mix of herbs and tomatoes, but now I plan with purpose: raised beds for veggies, a sunny border for flowers, and a shady corner for greens.
You’ll need basic tools—gloves, a trowel, and a wheelbarrow—and a clear idea of your garden’s purpose. Is it for fresh veggies, pollinators, or just beauty? My 5×10-foot plot now yields enough tomatoes to share, but a smaller raised bed works just as well for herbs and greens.
The soil? Test it first—amending with compost makes all the difference between struggling plants and a thriving garden.
By the end of the first season, you’ll have a layout that works for you: rows for easy access, companion plants to deter pests, and paths that keep mud out of your kitchen.
The real magic happens when you see those first sprouts push through the soil—proof that even a beginner can create something productive and beautiful. It’s not about speed; it’s about building a garden that grows with you.
Fair warning: weeds and pests will test your patience, but every season gets easier. Start small, keep it simple, and remember—your garden is a work in progress, not a perfect picture. The best part? You’ll be harvesting your own food (or flowers) before you know it.
📚 In This Guide
- What you need
- Instructions
- Tips and common mistakes
- Wrapping up and next steps
What you need
- ● Garden Plot: Raised bed kit (4’x8’ or custom size) OR in-ground space (minimum 4’x4’)
- ● Garden soil (2–3 cubic yards for in-ground) OR high-quality potting mix (1–2 bags per raised bed)
- ● Compost (1–2 bags or homemade compost, 2–3 inches deep)
- ● Tools: Garden trowel (for planting)
- ● Garden fork or spade (for soil prep)
- ● Wheelbarrow (for hauling soil/compost)
- ● Measuring tape (to plan spacing)
- ● Gloves (heavy-duty for digging)
- ● Plants & Seeds: Seedlings or seeds (choose 3–5 easy varieties like tomatoes, lettuce, or herbs)
- ● Plant labels (wooden stakes or metal tags)
- ● Watering: Hose with adjustable nozzle OR watering can (1–2 gallons)
- ○ Drip irrigation kit (optional but helpful for consistency)
- ● Mulch (straw or shredded leaves to retain moisture)
- ● Garden kneeler (for comfort)
- ● Trellis or stakes (for vining plants like cucumbers)
- ● Soil pH test kit (to check nutrient levels)
- ● Solar-powered garden lights (for evening ambiance)
Step-by-step instructions for designing your backyard garden layout
Here's how I approach a first-time backyard garden—simple, practical, and designed to grow with you.
📏 Step 1: Measure and Mark Your Garden Space
Start by measuring your backyard space with a tape measure or step off the area to get a rough estimate. I like to sketch a simple outline on paper first—this helps visualize where plants will go and what size beds you can create. For a beginner-friendly layout, aim for a 4x8-foot bed or smaller if space is limited. Mark the perimeter with stakes and string to outline your garden shape before digging.
Check the sun exposure throughout the day. Most vegetables need 6+ hours of direct sun, so position your garden where it gets the most sunlight. If your yard has partial shade, plan sun-loving plants on the south side and shade-tolerant ones on the north. This step ensures you won't waste time moving plants later when they outgrow their spots.
🪴 Step 2: Prepare the Soil for Planting
Clear the marked area of grass, weeds, or debris—this is where a shovel and rake come in handy. I dig up the top 6-8 inches of soil and loosen it thoroughly. If your soil is heavy clay or sandy, mix in 2-3 inches of compost (like the 2 cubic feet of compost you’ll have on hand) to improve drainage and fertility. Work the compost into the soil until it’s dark and crumbly—this signals it’s ready for planting.
Test the soil’s moisture by squeezing a handful. It should hold together but not be soggy. If it feels dry, water the bed lightly before planting. This step prevents waterlogged roots, which can rot plant stems and kill seedlings before they even sprout.
☀️ Step 3: Plan Your Plant Layout for Success
Divide your garden into sections based on plant needs. I group tall plants (like tomatoes or sunflowers) on the north side so they don’t shade shorter plants. Place medium-height plants (peppers, bush beans) in the middle, and low-growing plants (lettuce, radishes) on the south side. For a 4x8-foot bed, you can fit 4-6 plants per row, spaced 12-18 inches apart depending on the plant.
Add mulch (like the 1 bag of straw mulch) around plants after they’re in the ground. This keeps soil moist, suppresses weeds, and regulates temperature. Mulch should be 2-3 inches thick—thicker layers can smother small plants, while thinner layers won’t do much to retain moisture.
🌱 Step 4: Plant and Water for Strong Growth
Dig small holes for each plant, about twice as wide as the root ball but no deeper than the container’s base. Gently remove seedlings from their pots and place them in the holes, filling the gaps with soil. Press lightly around the base to secure them—this helps prevent wind from uprooting young plants. Water deeply right after planting to settle the soil and encourage roots to spread.
Water once daily for the first week, then taper to every other day once plants are established. You’ll know they’re getting enough water when the soil feels damp 1-2 inches below the surface. Overwatering is a common mistake—watch for yellowing leaves or wilting, which can signal too much or too little moisture.
✂️ Step 5: Maintain and Adjust as You Grow
Check your garden weekly for weeds, pests, or overgrowth. Pull weeds when they’re small—this is easier than wrestling with established ones later. If pests appear, use neem oil or insecticidal soap (if you have them) as a natural remedy. Prune dead or yellowing leaves to redirect the plant’s energy toward new growth.
Rotate crops next season to prevent soil depletion. For example, if you planted tomatoes this year, swap in beans or peas next time. This keeps your garden healthy and productive. Keep a simple journal of what you planted and how it performed—this helps refine your layout each year.
Tips & tricks for perfect backyard garden layouts
Here's what I wish I knew before starting my first garden—these tricks save time and frustration.
Sunlight Strategy: Don't just guess about sun exposure! Use a simple app like Sun Surveyor to track sunlight patterns in your yard for a week. This helps you identify the sunniest spots for vegetables and the shadier areas perfect for herbs or leafy greens. I learned this the hard way when my tomatoes struggled in what I thought was full sun—turns out they were getting only 4 hours after 4pm.
Soil Test Shortcut: Skip the expensive lab test and do a simple DIY check: Grab a handful of soil and squeeze it. If it crumbles easily, you've got good drainage. If it stays in a tight ball, you need more compost. For clay soil, mix in that 2 cubic feet of compost we mentioned, but spread it evenly—don't just pile it in one spot. Uneven compost distribution leads to uneven plant growth.
Plant Spacing Hack: Use your hand as a guide for spacing! For most vegetables, your thumb (about 1 inch) represents the spacing for small plants like radishes, your fist (about 3 inches) works for medium plants like peppers, and your forearm (about 12 inches) is perfect for larger plants like tomatoes. This visual trick helps you space plants consistently without measuring each time.
Watering Wisdom: The "damp 1-2 inches below surface" test is key, but here's how to do it right: Use a screwdriver or pencil to poke a hole 1-2 inches deep after watering. If water comes up, you're good. If not, water again. This method is more reliable than just feeling the surface, which can be misleading. I started doing this after my lettuce wilted from both overwatering and underwatering!
Pro Tips for Build A Backyard Garden
- Here's what I wish I knew before starting my first garden—these tricks save time and frustration.
- Sunlight Strategy: Don't just guess about sun exposure! Use a simple app like Sun Surveyor to track sunlight patterns...
- Soil Test Shortcut: Skip the expensive lab test and do a simple DIY check: Grab a handful of soil and squeeze it. If ...
Frequently asked questions
Got questions about starting your backyard garden? You're not alone! Here are some of the most common concerns—and their solutions—to help you grow with confidence.
What’s the best time of year to start a backyard garden?
The ideal time depends on your climate. In most regions, spring (after the last frost) is perfect for planting cool-season crops like lettuce or peas. For warm-season veggies (tomatoes, peppers), wait until late spring or early summer when soil is consistently above 60°F. Check your local frost dates for precision!
How much does it cost to build a backyard garden?
Costs vary widely! A small raised bed (4’x8’) might run $50–$200 (soil, wood, tools), while a full backyard setup (irrigation, fencing, compost) could be $300–$1,000+. Pro tip: Start small, reuse materials (pallets, containers), and save seeds from store-bought produce to cut costs!
How do I keep pests away without chemicals?
Prevention is key! Use physical barriers (row covers, netting), companion planting (marigolds repel pests), and natural sprays (neem oil, soapy water). Bonus: Encourage beneficial insects like ladybugs by planting dill or basil. Rotate crops yearly to disrupt pest life cycles too!
Can I build a garden in a small space or just a balcony?
Containers, vertical gardens, and square-foot planting
maximize tiny spaces. Try herbs in window boxes, lettuce in hanging pots, or a 4’x4’ raised bed for tomatoes. Even a 5-gallon bucket can grow peppers or strawberries—just ensure it has drainage and 6+ hours of sunlight!
What if my garden fails? How do I troubleshoot?
Don’t panic—most "failures" are fixable! Yellow leaves? Check water (over/under) or nutrients (add compost). Wilting plants? Inspect for pests or root rot. No flowers/fruit? Ensure proper pollination (hand-pollinate if needed) or adjust sunlight. Keep a garden journal to track issues and celebrate small wins!
Wrapping up and next steps
Building your backyard garden is an exciting journey that starts with a little planning and a lot of passion! 🌱 You’ve learned how to choose the right location, gather essential tools, and design a layout that works for your space and goals.
Whether you’re growing veggies, herbs, or flowers, the key is to start small, stay consistent, and enjoy the process—your green thumb will grow with practice.
Now that you’re ready to dig in, take the first step today! Sketch your garden plan, gather your supplies, and mark your calendar for planting day.
Before you know it, you’ll be harvesting fresh, homegrown goodness—and maybe even inspiring your neighbors to start their own gardens too. Happy growing! 🌿