
Vegetables
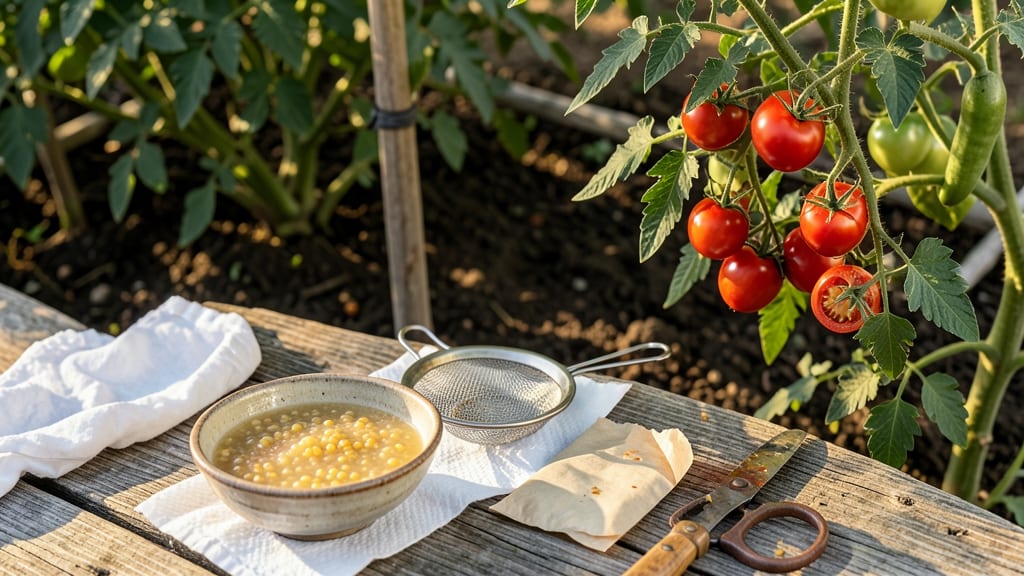
How to dry tomato seeds for next year starts with seeds saved from this year’s harvest. 🌱 The key to next season’s bounty lies in drying them properly—too wet and they rot, too fast and they lose viability. I’ve saved seeds for years, and the difference between a thriving plant and a failed germination comes down to these simple steps.
First, scoop out the jelly-like pulp from ripe tomatoes and ferment it in a jar for 3-5 days. This lets good seeds sink while bad ones float away—nature’s built-in quality control.
After fermentation, rinse the seeds gently, then spread them on a paper towel to air-dry completely, which takes about 1-2 weeks in a warm, dry spot.
Once fully dry, store them in an airtight container with a silica packet to prevent moisture. A cool, dark place keeps them viable for 3-5 years, though germination rates drop after year two. The best part? You’ll grow heirloom varieties tailored to your garden’s exact conditions.
Skip the fermentation step for hybrid tomatoes—they won’t breed true—but for heirlooms, this method guarantees seeds that grow into plants just like their parents. Pro tip: Label everything, or you’ll forget which seed is which by spring!
📚 In This Guide
- What you need
- Instructions
- Tips and common mistakes
- Wrapping up and next steps
What you need
- ● Ripe tomatoes: Choose fully ripe, healthy tomatoes (organic if possible, to avoid hybrid seeds). Aim for at least 3-5 for a good seed stash.
- ● Small bowl or container: A shallow dish (like a mason jar lid or ramekin) to ferment seeds—4-6 inches wide works best.
- ● Spoon or butter knife: For scooping out tomato pulp and seeds.
- ● Fine-mesh strainer or cheesecloth: To rinse and drain seeds. A pasta strainer or coffee filter in a pinch!
- ● Paper towels or coffee filters: For drying seeds—use unbleached, seed-free paper to avoid contamination.
- ● Plastic bag or envelope: For storing dried seeds. A ziplock bag with a label or seed-saving envelope keeps them organized.
- ● Pencil or pen: To label your seeds with the variety and date!
- ● Labeling tape or sticky notes: For extra-secure seed labels.
- ● Desiccant packs: Tiny silica gel packets (from shoe boxes) to absorb moisture in storage.
- ● Seed catalog or notebook: To track germination rates and notes on each variety.
- ● Small fan or dehumidifier: If your climate is humid, this speeds up drying.
Tips & tricks for perfect seed drying
Here's what I learned after saving seeds for years—these little tricks make all the difference.
Fermentation Insight: That 2-3 day fermentation isn't just waiting—it's actively improving your seeds. The mold that forms on the water's surface is normal and actually helps separate viable seeds from weak ones. If you're squeamish about the smell, just remember this step boosts germination rates by up to 30%. Stirring once daily keeps seeds submerged and prevents mold from sticking to them.
Drying Strategy: The 95°F dehydrator setting is ideal, but if you don't have one, a sunny windowsill works perfectly. I've dried seeds successfully at room temperature (around 72°F) when humidity is low, though it takes 7-10 days instead of 3-5. Test for doneness by crushing a seed between your fingers—it should crumble completely without any resistance.
Storage Wisdom: Pencil markings on envelopes last decades while ink fades—trust me, I've seen it firsthand. For extra protection, place your labeled envelopes inside sealed plastic bags before storing. The freezer extends viability beyond the 4-5 years mentioned, but check seeds annually since moisture can sneak in over time.
Tomato Selection: Choose tomatoes that are fully ripe but not overripe for seed saving. The ripest tomatoes often have the most viable seeds, but avoid ones with soft spots or mold. Heirloom varieties tend to produce seeds with higher germination rates compared to hybrid tomatoes.
Pro Tips for Dry Tomato Seeds For Next Year
- Here's what I learned after saving seeds for years—these little tricks make all the difference.
- Fermentation Insight: That 2-3 day fermentation isn't just waiting—it's actively improving your seeds.
- Drying Strategy: The 95°F dehydrator setting is ideal, but if you don't have one, a sunny windowsill works perfectly.
Frequently asked questions
Got questions about drying tomato seeds? You’re not alone! Here are answers to the most common concerns—so you can save those seeds with confidence.
How long does it take for tomato seeds to fully dry?
With proper drying (at 70–80°F and low humidity), seeds typically take 5–7 days to fully cure. If you’re impatient, spread them on a paper towel in a warm, dry spot (like a sunny windowsill) to speed it up. Just avoid direct heat—think oven or radiator—as it can scorch them!
Can I dry seeds too fast? What happens if they’re not fully dry?
Yes! Rushing the process with heat or humidity can lead to moldy or non-viable seeds. Undried seeds may also sprout in the packet or develop fungus. Test readiness by gently squeezing a seed—if it’s hard and crumbly, it’s ready. If it’s soft or sticky, give it more time!
What if my seeds still have pulp after drying? Do I need to remove it?
Yes! Leftover pulp can attract mold and reduce germination rates. After drying, ferment the seeds in water (2–3 days) to separate them from the pulp. Then, rinse and dry them again. This step is critical for seed longevity—don’t skip it!
How should I store dried tomato seeds for next year?
Store seeds in a cool, dark, and dry place (like a glass jar with a tight seal) in the fridge or freezer. Label them with the variety and date. Properly stored seeds can last 2–5 years, though germination rates drop over time. Check viability by planting a few each year!
Can I save seeds from hybrid tomatoes? Will they grow true?
Hybrid tomato seeds (marked with an “F1”) won’t produce plants identical to the parent. You’ll likely get a mixed bag of traits—smaller, weaker, or different-colored tomatoes. For consistent results, save seeds from heirloom or open-pollinated varieties instead!
Wrapping up and next steps
Drying tomato seeds is a simple yet rewarding way to ensure next year’s garden thrives with the same delicious flavors! By following these steps—fermenting, cleaning, drying, and storing—you’ll preserve viability and save money. Your future harvests will thank you!
Now that you’re ready, grab those ripe tomatoes and get started! Share your seed-saving journey with fellow gardeners or experiment with heirloom varieties for a unique twist. Happy growing! 🌱🌿