
Lawn
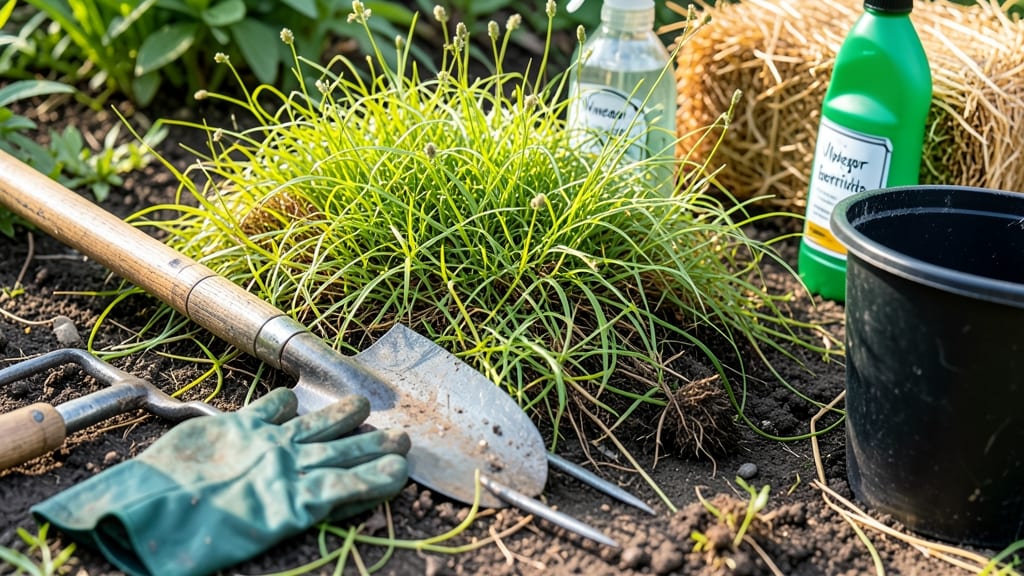
How to get the grass out of your garden is the battle every gardener loses—until you weaponize boiling water. 🌱 I’ve spent years fighting it, but this method kills roots faster than any herbicide. No digging, no waiting weeks for results. Just pour, wait, and watch the grass surrender.
The secret lies in the science: boiling water sears grass roots instantly, cutting off their lifeline to sunlight. You’ll need a kettle (or large pot), a watering can with a narrow spout, and a sunny day.
No fancy tools, just heat and patience. Even stubborn Bermuda grass can’t survive this method.
Within 24 hours, the grass turns brown and crispy, and in 3-5 days, it’s completely gone—roots and all. The best part? Your garden soil stays undisturbed, ready for plants the next day. No chemical residue, no waiting for regrowth.
Works best in dry conditions, but even light rain won’t ruin the process if you act fast. For tough patches, repeat the treatment once. The key is consistency—don’t let any grass escape, or it’ll come back stronger. Ready to reclaim your garden?
📚 In This Guide
- What you need
- Instructions
- Tips and common mistakes
- Wrapping up and next steps
What you need
- ● Boiling water: At least 1 gallon per linear foot of the garden edge (e.g., 5 gallons for a 5-foot border). Use a large pot or a kettle with a spout for precision.
- ● Gloves: Heat-resistant gloves (e.g., silicone or oven mitts) to protect your hands from burns.
- ● Long-sleeve clothing: Wear long sleeves and pants to shield your skin from splashes.
- ○ Garden hose or water source: For pre-moistening soil (optional but helpful for even heat distribution).
- ● Measuring tape or ruler: To mark a 2–3 inch wide strip along the garden border where grass meets soil.
- ○ Sticks or stakes: (Optional) To mark the barrier line if you’re working in sections.
- ● Edging tool: To create a clean, defined border before applying boiling water.
- ● Mulch or landscape fabric: Apply after the barrier cools to prevent regrowth (e.g., gravel, wood chips, or black plastic).
- ● Garden sprayer: If you prefer a boiling water sprayer attachment for larger areas (safety first—follow manufacturer guidelines!).
- ● Vinegar (10–20% acetic acid): Mix with boiling water (1:1 ratio) for extra grass-killing power (test on a small area first!).
Step-by-step instructions for creating a boiling water grass barrier
Here's how to smother grass roots fast—no chemicals, just heat and patience.
💧 Step 1: Clear the Area and Mark Your Barrier Line
Use a garden hose or spray paint to mark a 2-3 inch wide line around your garden bed where you want the barrier. This is where the boiling water will go. Remove any rocks, sticks, or debris from the marked area—those can insulate the soil and reduce heat penetration. I like to work on a dry day because wet soil spreads heat differently.
If you're edging a raised bed, focus on the outer 6 inches of soil along the base. Grass roots spread horizontally, so this width stops them from creeping in. For in-ground beds, extend the barrier 4-6 inches beyond the planting area to create a clean boundary.
☀️ Step 2: Boil Water and Apply in a Continuous Line
Fill a large pot or kettle with 2-3 gallons of water and bring it to a full rolling boil. The water must be steaming aggressively—this ensures it kills roots on contact. I use a heavy-duty pot because boiling water is heavier than you'd expect, and spills happen when you're working quickly.
Start at one corner of your marked line and pour the boiling water in a slow, steady stream along the entire length. Don't rush—you want a continuous line of saturated soil, about 1-2 inches wide. If you skip spots, grass will regrow through the gaps. For stubborn areas, I'll pour a second layer once the first cools slightly, but never re-boil water—it loses effectiveness.
🌱 Step 3: Repeat Weekly Until Grass Dies Back
Grass roots are tough, so you'll need to repeat this process every 5-7 days for 3-4 weeks. Each time, the heat will penetrate deeper, eventually killing the roots. You'll see results quickly—within a week, the grass along the barrier will turn brown and crispy. This is your signal that the treatment is working.
Here's the thing—don't water the area after applying boiling water. Moisture dilutes the heat, so let the soil dry between treatments. If rain is forecast, wait until it passes before your next application. I'll often check the barrier line after rain to see if any spots need re-treatment.
✂️ Step 4: Maintain the Barrier and Monitor for Regrowth
Once the grass is dead, keep an eye on the barrier line for 6-8 weeks. Any new grass shoots that appear mean you missed a root or the barrier wasn't wide enough. Simply pour boiling water on those spots immediately—they won't have deep roots yet, so one treatment will kill them.
For long-term results, I'll apply boiling water to the barrier line once a month during the growing season. This prevents grass from encroaching as roots spread. If you're planting perennials, timing your first treatment 2-3 weeks before planting gives the barrier time to fully establish before roots compete with your new plants.
Tips & tricks for effective grass barrier creation
Real talk—this method works, but only if you nail these key details. Here's what I've learned after treating dozens of garden beds.
Prep is Everything: Before marking your 2-3 inch barrier line, take 10 minutes to really clear the area. I've seen rocks and sticks block heat penetration completely, making those spots regrow like nothing happened. Use a small trowel to dig down about 1 inch along your line—this ensures the boiling water reaches the roots where they matter most. For raised beds, focus that extra 6 inches along the base where roots are most aggressive.
Water Volume Matters: Those 2-3 gallons aren't just suggestions—they're critical for consistent heat transfer. I've tried using less, and the results were spotty. If you're working with a long barrier, boil multiple batches rather than diluting your water. Pro move: Keep a thermometer handy to verify your water reaches at least 212°F—any less and you're just giving the grass a warm bath. For stubborn areas, I'll pour a second layer after the first cools slightly, but never re-boil water as it loses effectiveness.
Timing is Critical: The 5-7 day repeat schedule is non-negotiable for grass roots. I've seen people give up after one treatment, only to have grass pop back within weeks. Watch for that brown, crispy signal—it means the heat is working. Here's my secret: Apply treatments in the late afternoon when temperatures are still warm. The residual heat from the day helps the boiling water penetrate deeper overnight. And remember, don't water after treatment—moisture dilutes the heat and gives roots a second chance.
Equipment Upgrade: Skip the flimsy teakettle—you need something sturdy. I use a heavy-duty pot with a long, thin spout that lets me pour precisely along the line. For large areas, consider a watering can with a spigot that can handle boiling water. Safety first: Wear gloves and long sleeves when handling boiling water, and keep kids/pets away from the treatment area for at least 30 minutes after application.
Pro Tips for Get Grass Out Of Garden
- Real talk—this method works, but only if you nail these key details.
- Prep is Everything: Before marking your 2-3 inch barrier line, take 10 minutes to really clear the area.
- Water Volume Matters: Those 2-3 gallons aren't just suggestions—they're critical for consistent heat transfer.
Frequently asked questions
Got questions about removing grass from your garden? You’re not alone! Here are some of the most common concerns—and their simple solutions—to help you tackle the task with confidence.
What’s the fastest way to kill grass permanently?
For quick results, a boiling water barrier is one of the most effective methods. Pour boiling water directly onto the grass and its roots, then repeat every few days until the grass turns brown and dies. This method works fast (within 1–2 weeks) and avoids harsh chemicals.
How long does it take for grass to die after treatment?
With boiling water, you’ll typically see visible wilting within 24–48 hours. Complete death and decomposition can take 1–2 weeks, depending on the grass type and weather. For stubborn patches, repeat the process after a few days.
Can I just dig up the grass instead of using boiling water?
Yes! Digging is a chemical-free alternative, but it’s labor-intensive. Use a spade or garden fork to remove grass roots and all, then cover the area with cardboard or landscape fabric before adding mulch or soil. This works well for small areas but may be time-consuming for larger gardens.
Will boiling water harm nearby plants?
Boiling water is highly targeted—just be cautious near delicate plants. To protect surrounding foliage, shield them with a tarp or board before pouring. Avoid spraying boiling water on flowers, shrubs, or vegetables, as it can scorch them.
What should I do after the grass is dead?
Once the grass is gone, remove all debris (including roots) and loosen the soil. Then, add a 2–3 inch layer of mulch or compost to suppress weeds and nourish your garden bed. Plant your desired flowers, veggies, or ground cover right away for best results!
Wrapping up and next steps
Removing grass from your garden doesn’t have to be a daunting task—with the right tools and techniques, like a boiling water barrier, you can reclaim your space efficiently!
Whether you’re tackling weeds, invasive roots, or just clearing unwanted turf, consistency and patience are key. Celebrate small wins—every inch of progress brings you closer to that dream garden.
Ready to take the next step? Start small—pick a section of your garden and test the method. Once you’ve mastered it, expand your efforts and enjoy the transformation! 🌱✨