
Picking
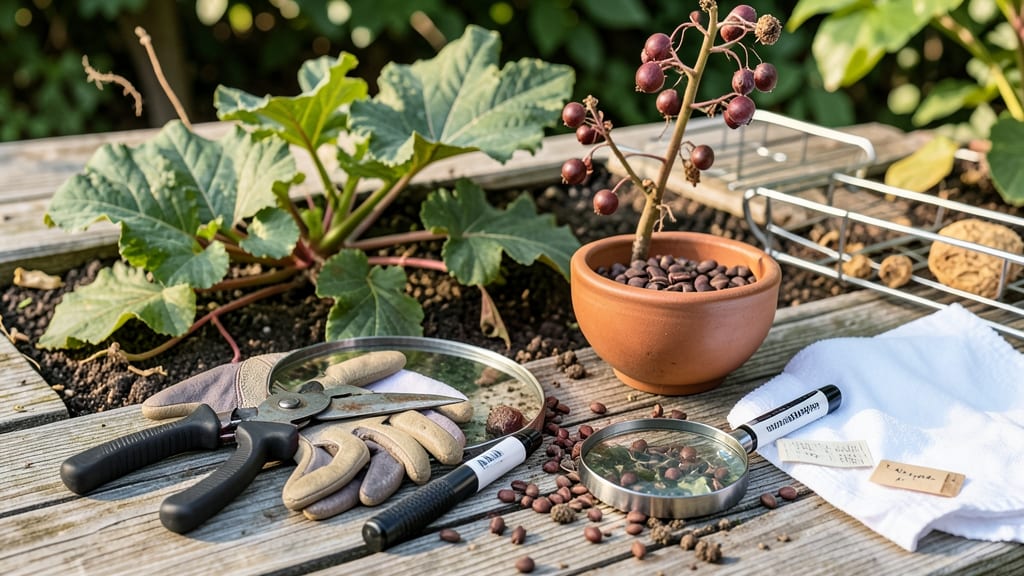
Harvesting beet seeds turns scraps into next year's garden gold. 🌱 I learned the hard way—letting beets bolt too late means bitter roots and wasted potential, but doing it right gives you seeds that grow even better than store-bought varieties.
The process starts by leaving your healthiest beets in the ground after they've produced storage roots. When they bolt—those tall flower stalks appear—you'll know it's time. These stalks will develop into seed pods, but you need to be patient; it takes about 60-90 days from bolting to ready-to-harvest seeds.
Once the pods turn brown and papery, gently twist them off the stalks and spread them out to dry in a warm, dry place.
After about 2 weeks, the seeds will rattle inside the pods—then you can rub them free and store them in a cool, dark spot for up to 3 years. The payoff? Homegrown seeds that thrive in your exact soil and climate.
This method works best in warm climates or with late-summer plantings, but even cooler regions can save seeds if they get enough summer heat. The key is timing—bolt them too early and you lose roots; too late and the seeds won't mature properly. Let's get those seeds growing!
📚 In This Guide
- What you need
- Instructions
- Tips and common mistakes
- Wrapping up and next steps
What you need
- ● Mature beet plants: Choose healthy, disease-free beets that have bolted (flowered) and produced seed pods. Aim for at least 5-10 plants for a good yield.
- ● Pruning shears or sharp scissors: For cleanly snipping seed pods without damaging the plant.
- ● Paper bags or breathable mesh bags: 5-10 bags (one per plant or pod cluster) to collect seeds and allow airflow.
- ● Labeling tags or markers: To track beet varieties (e.g., "Chioggia," "Golden," "Detroit Dark Red").
- ● Drying tray or screen: A flat, elevated surface (like a wire rack or cardboard box) for seed drying.
- ● Fine-mesh sieve or sifter: To separate seeds from chaff after drying.
- ● Airtight containers (glass jars or seed envelopes): For long-term storage. Quart-sized jars work well for bulk seeds.
- ● Gloves: Protect your hands from prickly seed pods or soil.
- ● Fan or dehumidifier: Speeds up drying in humid climates.
- ● Seed moisture meter: Ensures seeds are fully dry (<10% moisture) before storage.
- ● Notebook: To log harvest dates, varieties, and germination notes.
- ● Sunhat & sunscreen: Because harvesting in the garden can get sunny! ☀️
Step-by-Step instructions for harvesting beet seeds
Here’s how I’ve learned to reliably harvest beet seeds—no fancy tools, just patience and timing.
🌿 Step 1: Grow Beets to Bolting Stage
Start with healthy, mature beet plants that have produced flowers. Let the plants grow until they bolt—when they send up tall, thin flower stalks. This usually happens in 60-90 days after planting, depending on your climate. You’ll know it’s time when the leaves yellow and the plant redirects energy upward.
Leave the strongest stalks—those with the most flowers—and remove weaker ones. This ensures your energy goes into seed production. I always keep at least 4 stalks for good seed yield. Avoid harvesting from stressed plants; they produce fewer seeds.
🌱 Step 2: Wait for Flower Blooms to Dry
Once flowers appear, let them fully bloom and then dry on the plant. The flowers will turn from bright colors to brown and papery. This drying process takes 2-3 weeks, depending on warmth and humidity. You’ll see the flower heads tighten into round, seed-filled clusters.
Don’t rush this step—harvesting too early means immature seeds that won’t store well. Check daily in late summer or early fall. The seeds are ready when the dried flower heads easily crumble when touched. If they’re still green or moist, wait a few more days.
✂️ Step 3: Harvest and Dry the Seed Heads
Cut the dried seed heads from the stalks with clean scissors or pruners. Place them in a paper bag or a breathable mesh bag—plastic traps moisture and causes mold. Label the bag with the beet variety and harvest date. I like to hang the bags upside down in a dry, shaded spot for 2-3 weeks to fully dry the seeds.
During this time, gently shake the bags daily to release any loose seeds. Store the dried heads and seeds in a cool, dark place until you’re ready to process them. If you’re impatient, you can spread the dried heads on a tray and let them air-dry for a few more days.
💧 Step 4: Clean and Store the Seeds
Once the seed heads are completely dry, rub them between your hands or use a fork to scrape out the seeds. Sift the seeds through a fine mesh screen to remove debris. Discard any shriveled or discolored seeds—they won’t germinate well. Store the clean seeds in a sealed envelope or jar in a cool, dark place with low humidity.
Seeds stay viable for 3-5 years if stored properly. I always test a few seeds before planting a full batch to ensure they’re still good. If germination is slow, it’s time to harvest fresh seeds again.
🌱 Step 5: Save for Next Season
Use your homegrown seeds for next year’s garden. Beets are biennials, meaning they produce seeds in their second year. If you live in a warm climate, you can plant them in fall for an early spring harvest. In colder areas, overwinter the plants with mulch and harvest seeds the following year.
Here’s the thing—homegrown beet seeds adapt to your local conditions, so they’re often hardier and more productive than store-bought varieties. Just remember: the first year is all about growing strong plants, and the second year is all about patience for those seeds.
Tips & tricks for perfect beet seed harvesting
Patience is your best friend when harvesting beet seeds—these little tricks will help you avoid common pitfalls and maximize your yield.
Timing is Everything: In Step 1, when waiting for your beets to bolt (60-90 days), watch for the first signs of flowering—bright colors mean it's time to focus. I've learned that keeping at least 4 strong stalks is key; weaker plants won't produce quality seeds. If your climate is cooler, you might need to extend the growing season by a week or two to ensure proper bolting before winter sets in.
Drying Secrets: During Step 2's 2-3 week drying process, I've discovered that morning sunlight is your friend. Hang your seed heads where they get gentle morning sun but are shaded from harsh afternoon rays. This prevents overheating while still allowing proper drying. If humidity is high, you might need to extend the drying time by a few extra days—just be patient, the seeds will thank you with better viability.
Storage Wisdom: When storing your seeds in Step 4, I recommend adding a small packet of silica gel to your sealed container. This extra step helps maintain low humidity levels, which is crucial for extending seed viability beyond the 3-5 year mark. I also label my containers with the harvest year—this helps me track how old my seeds are when it comes time to test germination.
Climate Considerations: For those in colder climates, overwintering your beets with mulch (mentioned in Step 5) is a game-changer. I've found that using straw mulch works better than leaves—it provides better insulation while still allowing airflow. If you're in a warm climate, consider planting a fall crop specifically for seed production to take advantage of the milder winter temperatures.
Pro Tips for Harvest Beet Seeds
- Patience is your best friend when harvesting beet seeds—these little tricks will help you avoid common pitfalls and maximize your yield.
- Timing is Everything: In Step 1, when waiting for your beets to bolt (60-90 days), watch for the first signs of flowering—bright colors mean it's time to focus.
- Drying Secrets: During Step 2's 2-3 week drying process, I've discovered that morning sunlight is your friend.
Frequently asked questions
Got questions about harvesting beet seeds? You’re not alone—this process can feel tricky at first! Below, we’ve rounded up the most common queries from gardeners (both new and seasoned) to help you navigate the ins and outs of seed-saving with confidence.
When is the best time to harvest beet seeds?
Timing is everything! Harvest beet seeds when the seed heads turn from green to a dry, papery brown—usually 80–100 days after planting. If you wait too long, the seeds may scatter or sprout in the pod. Aim for late summer or early fall in most climates. Pro tip: Pick seeds on a dry day to avoid mold.
Can I save seeds from store-bought beets?
Unfortunately, no—store-bought beets are often hybrid varieties, meaning their seeds won’t grow true to the parent plant. For reliable seed-saving, use heirloom or open-pollinated beet varieties (like ‘Detroit Dark Red’ or ‘Golden’). Check seed packets for the "OK for seed-saving" label!
Do I need to isolate beet plants to prevent cross-pollination?
Yes! Beets are insect-pollinated, so isolate them by at least 500 feet from other chard or beet varieties to maintain purity. If space is tight, use row covers or mesh bags over flowers to control pollinators. Fun fact: Bees love beet flowers—just keep them from wandering too far!
What should I do if my beet seeds won’t germinate?
Low germination often stems from old seeds, improper drying, or storage issues. Test viability by soaking seeds in water—sinkers are good, floaters are likely dead. Store seeds in a cool, dry place (like a sealed jar in the fridge) for up to 3 years. Troubleshoot: Scarify seeds (nick the shell) if they’re hard-coated.
How do I store beet seeds long-term?
After harvesting, let seeds dry for 1–2 weeks in a warm, dark place, then transfer them to an airtight container with a desiccant packet (like silica gel). Label with the variety and date! Store in the fridge (35–40°F) or freezer for maximum longevity. Bonus: Freeze seeds in ice cube trays for portion control!
Wrapping up and next steps
Harvesting beet seeds at home is a rewarding journey that connects you to the roots of your food—literally! 🌱 By following these steps, you’ll not only save money but also enjoy the satisfaction of growing from seed to seed.
Whether you’re a seasoned gardener or just starting out, your patience and care will yield a bountiful harvest year after year.
Now that you’re armed with the knowledge, take the next step—plant those seeds and watch your garden flourish! Share your beet-growing adventures with fellow gardeners, and don’t forget to experiment with different varieties for even more delicious results. Happy gardening! 🌿