
How To
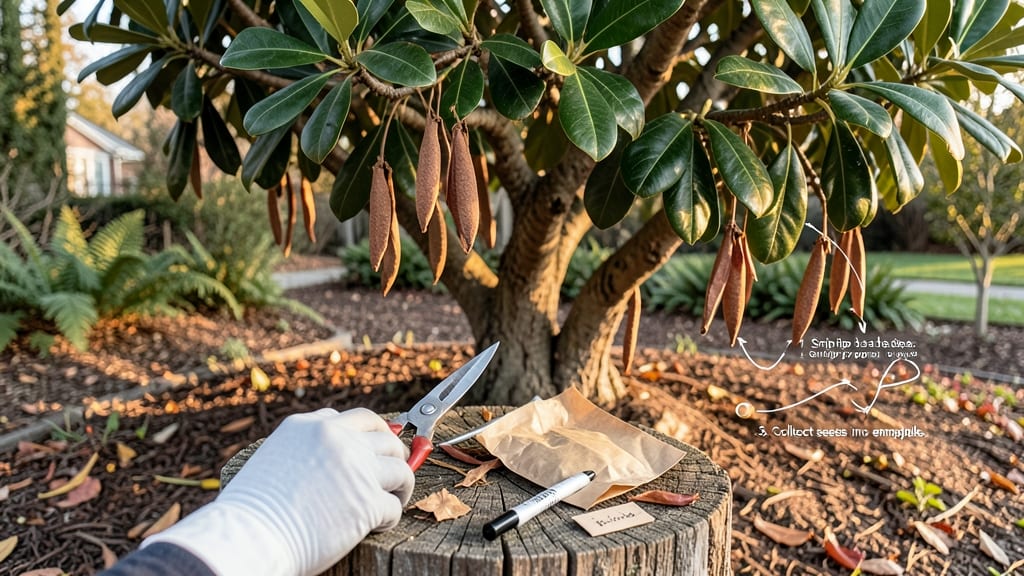
Harvesting magnolia seeds at the wrong time can mean losing your chance to grow a stunning 🌸 tree from scratch. The difference between success and failure often comes down to knowing exactly when those seed pods are ready—and how to handle them without damaging their potential.
If you've ever watched magnolia pods turn from green to brown and wondered, "Is this the right moment?" you're not alone. Timing is everything, and missing the window by even a few weeks could reduce germination rates dramatically.
I'll show you the telltale signs to look for, so you never miss the perfect harvest again.
Beyond just picking the seeds, there's an art to storing them properly to keep them viable until planting season. From drying techniques to avoiding common pitfalls, this guide covers every step to maximize your chances of growing healthy magnolia seedlings. Let's get started on turning those pods into future trees.
Whether you're a seasoned gardener or just starting with magnolias, understanding these key steps will save you time, frustration, and wasted seeds.
By the end, you'll know exactly how to collect, store, and prepare magnolia seeds for planting—so you can enjoy watching your own magnolia grow from seed to majestic tree.
When to harvest magnolia seeds: identifying the perfect ripeness stage
Harvesting magnolia seeds at the right time is the difference between thriving seedlings and wasted effort. These seeds need precise timing—too early, and they won’t germinate; too late, and they may lose viability. The key is watching for visual cues and understanding your local climate to pinpoint the ideal window.
Most magnolia species produce seeds in late fall to winter (October–January), but the exact timing depends on your USDA hardiness zone and species. For example, southern magnolias (Magnolia grandiflora) often ripen earlier than northern varieties like sweetbay magnolias (Magnolia virginiana).
Always check seed pods weekly once they form.
Look for these three critical ripeness signs before harvesting: seed pods turning dry and brown, pods beginning to split open naturally, and seeds inside appearing dark and firm.
If pods drop easily when touched, they’re ready. Ignoring these cues can lead to seeds that won’t sprout—or worse, mold in storage.
🌰 Magnolia Seed Ripeness Guide
| Stage | Visual Cues | Best Time to Harvest |
|---|---|---|
| Early Development | Green, firm pods; seeds soft | Not ready (🟢) |
| Ripening | Pods turn brown; slight cracks | Harvest soon (🟡) |
| Fully Ripe | Dry pods split open; seeds dark and hard | Harvest now (🟤) |
Environmental factors like temperature and rainfall play a huge role. In colder zones (below USDA Zone 7), wait until after the first frost to harvest—this ensures seeds have fully matured.
In warmer zones, seeds may ripen earlier, so monitor pods closely. Heavy rain before harvest can cause premature pod opening, increasing the risk of mold.
Pro tip: If you miss the harvest window, don’t panic. Store unripe pods in a paper bag in a cool, dry place (like a garage) for 2–4 weeks. They’ll finish ripening naturally. Just avoid plastic bags—condensation will ruin your seeds.
Different magnolia species have slight variations in ripening times. For example, Southern magnolias (Magnolia grandiflora) often ripen in November–December, while Star magnolias (Magnolia stellata) may take until January. Always check your specific variety’s growth cycle for the most accurate timing.
Harvesting too early is a common mistake. Unripe seeds won’t germinate, and forcing them with stratification (a cold treatment) won’t help if they’re not fully developed. Always confirm seeds are dark and firm before proceeding. This step saves hours of frustration later.
Once you’ve spotted ripe pods, act quickly. Seeds left too long on the tree may scatter or attract pests like squirrels. Gather them on a dry day to prevent mold.
Place pods in a well-ventilated container (like a mesh bag) to finish drying indoors for 1–2 weeks before extracting the seeds.
Timing your harvest correctly ensures 90%+ germination rates in ideal conditions. With patience and attention to detail, you’ll be ready to plant those seeds in early spring—just in time for their natural growth cycle. The reward? A future magnolia tree with the same stunning blooms as its parent.
Step-by-step magnolia seed harvesting process for maximum germination success
Now that you’ve identified the perfect time to harvest, let’s dive into the step-by-step process for collecting magnolia seeds without damaging their viability.
Start by gathering your essential tools: a pair of sterilized pruning shears, a large bucket or paper bags, and a labeling marker for tracking seed batches.
Wear gloves to protect your hands from potential irritation, as magnolia seed pods can be slightly sticky. Approach the tree gently, focusing on mature seed pods that are brown and splitting open. Avoid shaking the tree vigorously, as this can damage both the seeds and the tree itself.
Step 1: Collect the Seed Pods Gently twist or cut open the dry, brown pods using your pruning shears. Place them directly into your bucket or bags. If pods are already open and releasing seeds, scoop the seeds into your container. Label each batch with the harvest date and tree variety if known.
🌰 Step-by-Step Harvesting Guide
- 1. Gather Tools: Pruning shears, gloves, buckets/bags, labeling marker.
- 2. Identify Pods: Look for brown, splitting pods (🟤🔓).
- 3. Collect Seeds: Twist or cut open pods; scoop seeds into containers.
- 4. Label Batches: Note date and variety for tracking.
- 5. Dry Seeds: Spread seeds on paper towels in a cool, dry place for 1–2 weeks.
- 6. Store Properly: Place dried seeds in paper envelopes or airtight containers with a desiccant.
- 7. Stratify (Optional): Refrigerate seeds for 60–90 days to mimic winter conditions.
Once collected, remove seeds from pods by gently rubbing them between your fingers or using a soft brush. Avoid crushing the seeds, as this can reduce germination rates. Spread the seeds on paper towels in a well-ventilated, dry area for 1–2 weeks to ensure they’re fully dried.
After drying, store seeds in paper envelopes or airtight containers with a silica gel packet to absorb excess moisture. Label each container with the harvest year and variety, then place them in a cool, dark location (like a refrigerator) until you’re ready to plant.
For best germination results, consider stratifying the seeds by refrigerating them for 60–90 days to break dormancy. This mimics the natural winter cycle and can significantly improve sprouting rates when planted in spring.