
How To
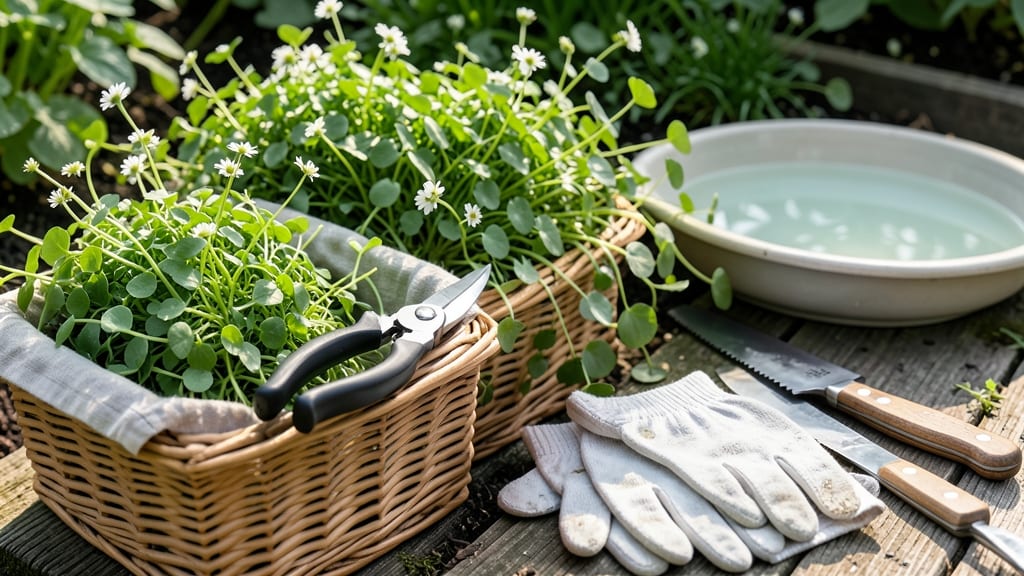
Harvesting watercress at the right time is the secret to unlocking its signature peppery flavor and tender texture—but timing matters more than you think.
That first crisp bite of fresh 🌿 watercress straight from your garden is unbeatable, but let it linger too long, and you’ll end up with bitter, tough leaves that even the most dedicated chef would shy away from.
I’ve learned the hard way that watercress doesn’t play by the rules of other greens—it thrives on regular attention.
Whether you’re a seasoned gardener or just dipping your toes into growing this aquatic superstar, knowing when to harvest and how to do it without stunting future growth makes all the difference.
Let’s cut through the guesswork so you can enjoy a steady supply of this nutrient-rich green all season long.
In this guide, I’ll walk you through the exact steps to harvest watercress—from the best time of day to the right tools to use—so you can keep your plants happy and productive.
You’ll also discover how to store your fresh harvest to maximize its shelf life, because nobody wants to waste those vibrant leaves after all that hard work.
Ready to transform your garden into a watercress powerhouse? Let’s dive in and make sure every harvest is as fresh and flavorful as the first.
Best time and frequency for harvesting watercress for peak flavor
Timing is everything when harvesting watercress. The ideal harvest window starts 30-45 days after planting, when leaves reach 2-4 inches long but before they flower. Early morning harvests yield the most tender, flavorful greens since moisture levels are highest and heat hasn’t stressed the plant yet.
For continuous production, harvest every 2-3 weeks—never take more than 1/3 of the plant at once. This prevents over-stressing the roots while encouraging regrowth. In spring and fall, you can harvest more frequently (every 10-14 days) because cooler temperatures slow bolting and bitterness development.
Watch for over-maturity signs like woody stems, yellowing leaves, or flowering stalks. These indicate it’s past prime and will reduce flavor and stunt future harvests. If your watercress bolts, the bitterness increases, and the plant may die back after flowering.
Seasonal adjustments matter too. In summer’s heat, harvest more frequently (every 10 days) to avoid stress, while winter harvests (in mild climates) can stretch to every 3-4 weeks. Always prioritize young, vibrant leaves—they’re the sweetest and most nutritious.
| Stage | Harvest Time | Leaf Size | Flavor Profile |
|---|---|---|---|
| Early Growth | 30-45 days | 1-2 inches | Mild, sweet |
| Prime Harvest | Every 2-3 weeks | 2-4 inches | Peppery, fresh |
| Over-Mature | Rare harvests | >4 inches | Bitter, tough |
To maximize regrowth, always cut leaves from the outer edges first, leaving the inner rosette intact. This mimics natural pruning and encourages denser foliage. Avoid harvesting more than 1/3 of the plant in a single session—this ensures the roots stay energized for future harvests.
Pro tip: Harvest in cool weather (early morning or late evening) to preserve crispness and reduce wilting. If you’re growing watercress in shallow water, submerge the container briefly in cool water before harvesting to revitalize the roots and extend plant life.
One common mistake is waiting too long between harvests. If your watercress sits unharvested for more than 4-6 weeks, it’ll bolt prematurely and lose flavor. Set a reminder every 2 weeks to check for readiness—consistency is key to a continuous supply of fresh greens.
Finally, seasonal shifts affect harvest frequency. In spring and fall, you can harvest every 10-14 days, while summer’s heat may require weekly harvesting to prevent stress. Always prioritize young leaves—they’re the tastiest and most nutrient-dense.
By following these timing guidelines, you’ll enjoy peppery, tender watercress all season long—no bitter surprises! 🌱
Step-by-step guide to harvesting watercress without damaging the plant
Harvesting watercress correctly ensures a continuous supply of tender, flavorful leaves while keeping your plant healthy. The key is to pick strategically—whether by hand or with tools—and avoid over-harvesting, which can stress the plant or trigger bolting (flowering).
I’ll walk you through the best techniques for both soil-grown and water-grown watercress, plus common mistakes to avoid.
Start by identifying mature leaves. Look for leaves that are 2-4 inches long and have a vibrant green color. These are the ideal candidates for harvesting, as they’re tender and packed with flavor. Avoid picking leaves that are woody or yellowing, as these signs indicate over-maturity and bitterness.
If you see flowering stems, your plant is ready to bolt, which means it’s time to harvest more aggressively before it goes to seed.
For soil-grown watercress, use a sharp pair of clean pruning shears or scissors to snip leaves just above a leaf node (the point where leaves attach to the stem). This encourages new growth from that node.
If harvesting by hand, gently pinch off leaves at the base, leaving at least half the plant intact to ensure regrowth. Never pull leaves forcefully, as this can uproot young shoots and harm the plant.
How to Harvest Watercress: Step-by-Step
- Step 1: Wait until leaves reach 2-4 inches and are bright green.
- Step 2: Use sharp scissors or fingers to harvest outer leaves first.
- Step 3: Cut or pinch just above a leaf node to encourage regrowth.
- Step 4: Leave at least 50% of the plant intact to sustain growth.
- Step 5: Harvest every 1-2 weeks for continuous production.
- Step 6: Avoid harvesting in direct sunlight to prevent wilting.
If your watercress is growing in shallow water, harvesting is even simpler. Submerge your hands in the water and gently grasp leaves near the base, then twist or cut them off. You can also use underwater scissors for precision.
Always leave the roots undisturbed and avoid harvesting more than one-third of the plant at a time. This method works well for container-growing or pond-side watercress patches.
Avoid these common harvesting mistakes that can harm your plant: over-harvesting (which weakens regrowth), using dull tools (which can tear leaves and invite pests), and harvesting in hot afternoons (which causes wilting).
Additionally, never harvest leaves with holes or chew marks, as these may be infested with pests like aphids or slugs. If you notice damage, treat the plant with neem oil or insecticidal soap before resuming harvests.
After harvesting, rinse leaves thoroughly under cool water to remove dirt or algae (if grown in water). Pat them dry with a clean towel or salad spinner to prevent mold.
Store harvested watercress in an airtight container lined with a damp paper towel in the fridge, where it’ll stay fresh for up to 1 week. For long-term storage, blanch and freeze leaves in ice cube trays for easy use in smoothies or soups later.