
Tools
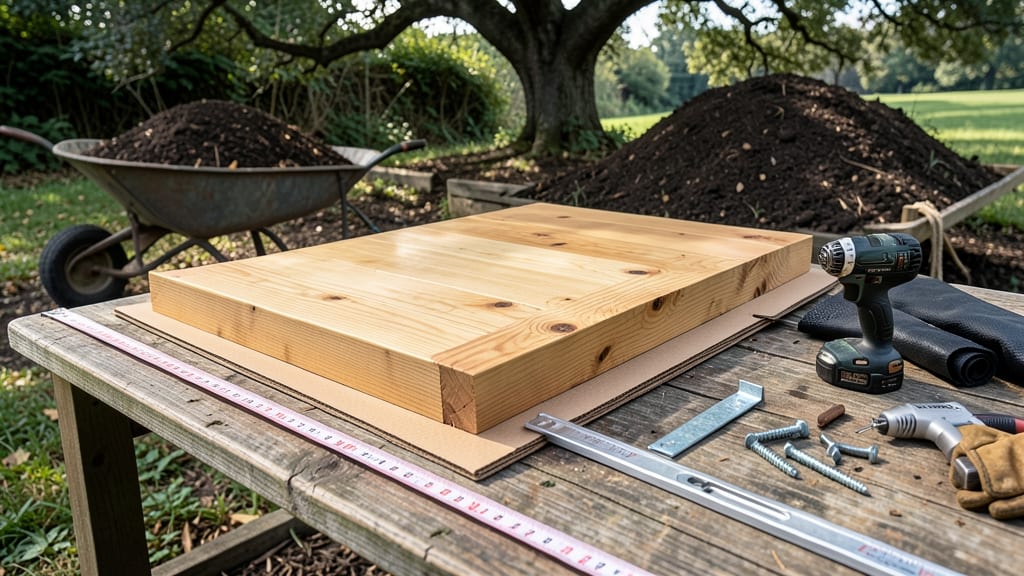
Installing raised beds transforms your garden from a struggle to a thriving system. 🌱 I’ve built mine from simple cedar kits to custom cedar-and-hardwood designs, and the difference in soil quality, weed control, and harvest size is night-and-day.
The key isn’t just nailing together wood—it’s setting up a foundation that lasts 5+ years while giving your plants the perfect growing conditions.
You’ll need basic tools (a drill, level, and tape measure), untreated wood (cedar or redwood resists rot), and hardware like screws or corner brackets. Site prep matters too: choose a level spot with 6+ hours of sun, and avoid placing beds where they’ll block walkways or shade future growth.
The soil inside? That’s where the magic happens—fill with a mix of topsoil, compost, and perlite for drainage that keeps roots happy without drowning them.
By the end, you’ll have a garden that stays weed-free, warms up faster in spring, and lets you grow anything from tomatoes to herbs—even in rocky or poor soil. The best part?
No more bending over, no more compacted earth, and no more fighting nature to get results. It’s a game-changer for backyards, balconies, or even small urban spaces. Let’s get those beds built right.
Pro tip: Add a drip irrigation system or a simple rain barrel setup to save time and water. And if you’re working with limited space, go narrow (3–4 feet wide) so you can reach the center without stepping in.
The framework here works for any size—just scale the materials. Ready to dig in?
📚 In This Guide
- What you need
- Instructions
- Tips and common mistakes
- Wrapping up and next steps
What you need
- ● Lumber: Pressure-treated cedar, redwood, or composite wood (avoid treated pine—it can leach chemicals). Recommended dimensions: For a 4’ x 8’ bed (2’ tall): 8 pieces of 2x6x8’ lumber (or 2x8x8’ for wider beds).
- ● For a custom size: Calculate perimeter length and height (e.g., 3’ tall = 3 layers of lumber).
- ● Corner brackets or screws: Galvanized or stainless steel (e.g., 2.5” deck screws or L-brackets for extra stability).
- ○ Landscape fabric or hardware cloth: (Optional but recommended) To deter burrowing pests. Cut to fit bed dimensions.
- ● Garden soil mix: 60% topsoil, 30% compost, and 10% perlite/sand (or pre-mixed raised bed soil). Aim for 12–18 inches of depth.
- ○ Gravel or pavers (optional): For drainage at the base (e.g., 2–3 inches of crushed stone).
- ● Measuring tape and pencil for precision.
- ● Circular saw or miter saw (or borrow a friend’s!).
- ● Drill/driver with screw bits.
- ● Level to ensure your bed is perfectly even.
- ● Staple gun (if using landscape fabric).
- ● Wheelbarrow or shovel for soil.
- ● Work gloves and safety glasses (because DIY magic isn’t always pretty!).
- ● 💡 Check local regulations: Some areas restrict wood types or bed heights near property lines.
- ● 🌡️ Pick a sunny spot: Aim for 6–8 hours of sunlight daily for most veggies.
- ● ✨ Level the ground: Remove grass/sod and smooth the area to avoid future sagging.
Step-by-step instructions for installing raised beds
Here's the straightforward method I've used for years to build sturdy, long-lasting raised beds that stay put.
🪴 Step 1: Choose and Prepare Your Location
Pick a spot with at least 6 hours of sunlight daily and easy access to water. I always avoid areas where water pools after rain—raised beds need good drainage, not soggy bottoms. Clear away grass, weeds, and debris down to bare soil, then mark your bed dimensions with stakes and string for a perfectly straight layout.
Check the ground level carefully. If your yard slopes, build the bed on the higher side to prevent erosion. A slight tilt is fine, but avoid steep grades that could cause the bed to tip over later. I like to use a level tool here to ensure the base is even before adding materials.
🌱 Step 2: Build the Bed Frame
For a 4-foot by 8-foot bed, I use untreated cedar or redwood lumber (naturally rot-resistant) cut to 8 feet long, 4 feet long, and 2 feet high. Assemble the frame like a rectangular box with corner screws or galvanized nails—no pressure-treated wood unless it's labeled safe for vegetable gardens. The 2-foot height gives enough depth for roots and keeps your back happy.
Double-check the corners are square by measuring diagonally—both sides should be exactly the same length. If they're not, adjust before securing. I like to pre-drill holes to prevent wood splitting when driving screws. Leave a 1-inch gap between the bottom frame and ground to allow airflow and prevent rot.
💧 Step 3: Layer the Bed for Drainage and Soil
Start with a 2-inch layer of landscape fabric to block weeds from creeping up. Then add 4 inches of coarse material—gravel, bark chips, or broken bricks—to improve drainage. This layer prevents waterlogging while keeping your precious soil mix on top. I like to use a rake to spread it evenly before adding the next layer.
Fill the remaining space with a mix of equal parts topsoil, compost, and aged manure. Avoid fresh manure—it can burn plants. For a 4-foot by 8-foot bed, you'll need about 2 cubic feet of soil mix. Tap the soil lightly as you add it to eliminate air pockets, but don't compact it too tightly.
✂️ Step 4: Secure and Finish the Bed
Place the frame over the layered materials and press down gently to settle everything. If using screws, drive them at a slight angle into the ground for extra stability. For extra reinforcement, I add corner braces or a second layer of lumber along the middle of the long sides. This prevents wobbling over time.
Leave a 2-inch gap between the soil and the top edge of the frame—this keeps rainwater from overflowing. Top off with 1 inch of mulch (straw or wood chips) to retain moisture and suppress weeds. Water thoroughly after filling to help the soil settle and eliminate air pockets.
☀️ Step 5: Maintain for Longevity
Add 1-2 inches of compost annually in spring to replenish nutrients. I like to mix it into the top 6 inches of soil rather than just spreading it on top—this keeps nutrients where roots can access them. Avoid walking on the bed to prevent soil compaction, and always water at the base, not from above.
Check the frame annually for loose screws or warping. If using untreated wood, replace boards every 5-7 years—cedar lasts longer than pine but still needs eventual refreshment. The key to long-lasting beds is keeping the soil healthy and the structure sound.
Tips & tricks for building long-lasting raised beds
Building a raised bed that lasts requires attention to details most people overlook. Here's what I've learned from years of trial and error—these small tweaks make all the difference.
Location is Everything: That 6-hour sunlight requirement isn't just a suggestion—it's non-negotiable for most vegetables. I've seen beds fail when placed in shady spots where tomatoes and peppers struggle. Also, test your soil drainage before building: Dig a 1-foot hole, fill it with water, and time how long it takes to drain. If it holds water for more than 6 hours, you'll need to amend the site with sand or build on a slope.
The Frame Stability Secret: When assembling your 4-foot by 8-foot frame, use a 3-inch wood screw for corners and pre-drill holes to prevent wood splitting. I've seen beds wobble after just one season when builders skipped this step. For extra reinforcement, add a horizontal support beam in the middle of the long sides—this creates a more rigid structure that won't flex under weight.
Soil Layering Matters More Than You Think: That 4-inch coarse material layer isn't just for drainage—it's also where beneficial microbes thrive. I like to mix in a handful of mycorrhizal fungi powder with the gravel to boost plant growth. For the soil mix, don't skimp on compost: Use at least 30% by volume. The 2 cubic feet calculation assumes you're filling to within 2 inches of the top—leave room for settling!
Long-Term Maintenance Wins: The annual compost addition is crucial, but here's the trick: Mix it into the top 6 inches of soil rather than just spreading it on top. This creates a nutrient-rich zone where roots can access it. For beds with heavy use, I add a thin layer of biochar (available at garden centers) to the soil mix—it improves water retention and microbial activity for years.
Pro Tips for Install Raised Beds
- Building a raised bed that lasts requires attention to details most people overlook. Here's what I've learned from ye...
- Location is Everything: That 6-hour sunlight requirement isn't just a suggestion—it's non-negotiable for most vegetab...
- The Frame Stability Secret: When assembling your 4-foot by 8-foot frame, use a 3-inch wood screw for corners and pre-...
Frequently asked questions
Got questions about installing raised beds? You’re not alone! Here are answers to the most common concerns—from timing to troubleshooting—to help you build with confidence.
When is the best time of year to install raised beds?
The ideal time is early spring or late fall when the ground isn’t frozen or waterlogged. This gives plants time to establish roots before extreme temperatures. If you’re in a mild climate, spring is perfect—just avoid planting until soil warms (use a soil thermometer if needed).
How deep should raised beds be for vegetables vs. flowers?
For vegetables, aim for 12–18 inches deep to accommodate root crops like carrots or potatoes. For flowers and shallow-rooted plants, 6–12 inches works fine. Deeper beds improve drainage and reduce weeds—just ensure proper drainage holes if using containers.
Can I use wood scraps or untreated lumber for raised beds?
While untreated lumber (cedar, redwood, or cypress) is safe, avoid pressure-treated wood with arsenic (pre-2004) or chemically treated options. For budget-friendly alternatives, try composite lumber, bricks, or cinder blocks. Line the bottom with cardboard or landscape fabric to block weeds if using porous materials.
How do I prevent raised beds from drying out too quickly?
Mulch the surface with straw, wood chips, or shredded leaves to retain moisture. Water deeply 2–3 times per week (adjust for climate) and use drip irrigation for efficiency. Raised beds dry faster than ground soil—monitor moisture by sticking your finger 1 inch down; if dry, water thoroughly.
Why are my plants wilting even though I’m watering regularly?
Check these fixes: Overwatering (roots need air), poor drainage (add compost or sand), or nutrient deficiency (amend soil with compost or fertilizer). If the bed is too shallow, roots may struggle—consider deeper beds or side planters for heavy feeders like tomatoes. Also, ensure the bed isn’t in a low spot where water pools.
What’s the easiest way to level an uneven yard for raised beds?
Use a string line and stakes to mark a level guide. Remove high spots with a shovel or mattock, and fill low spots with topsoil or gravel. For steep slopes, build terraced beds with retaining walls or stacked stones. A 4-foot level tool makes this DIY-friendly!
Wrapping up and next steps
Installing raised beds is a game-changer for any gardener—whether you're a beginner or a seasoned pro! 🌱 With the right materials, a little planning, and patience, you’ll create a thriving, low-maintenance garden that lasts for years.
The key is taking your time, following each step carefully, and customizing your design to fit your space and needs.
Now that you’re equipped with the know-how, it’s time to roll up your sleeves and build! Start small if you’re new, or go big with multiple beds for a full garden transformation. Happy gardening—your future harvests will thank you! 🌿✨