
Propagation
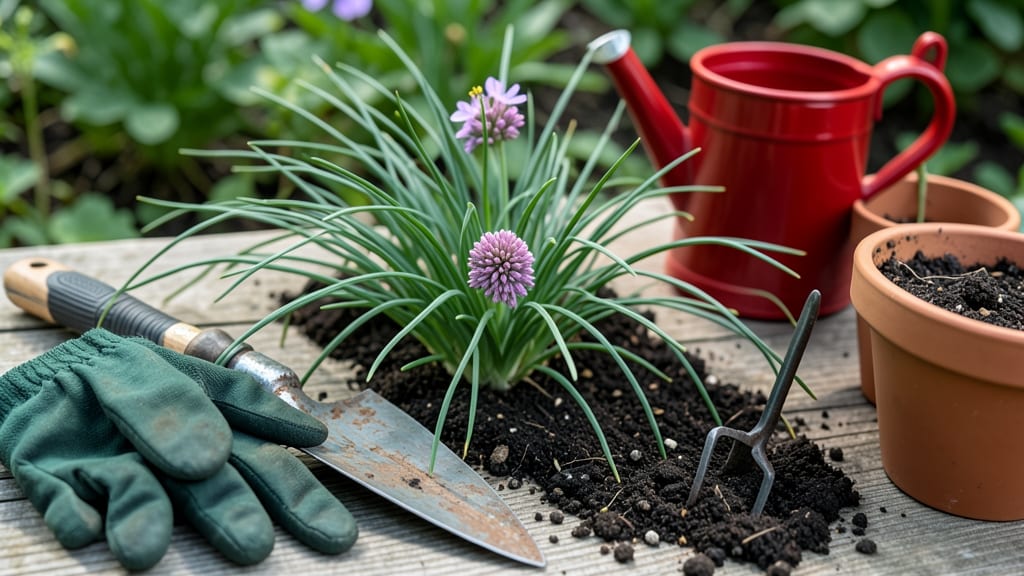
Spring’s the best time to divide chives—when new shoots pop up but before the heat sets in. I’ve turned one struggling clump into three thriving plants this way, and it’s easier than you’d think. The key is patience and knowing when to pull the trigger (literally).
You’ll need a sharp knife or trowel, gloves, and a bucket of water to rinse roots. The goal? Split the plant into sections with at least three healthy stems and a good root system. No need for fancy tools—just clean, sharp edges work.
After dividing, replant the sections 4-6 inches apart in well-draining soil. Water them in, and within weeks, you’ll see fresh growth. The original plant will rebound too, producing even more flowers and edible stems. This method works year-round in mild climates, but spring and fall give the best results.
Perfect for sharing with friends or expanding your garden without spending a dime!
📚 In This Guide
- What you need
- Instructions
- Tips and common mistakes
- Wrapping up and next steps
What you need
- ● Mature chive plant(s): Healthy, established chives (at least 1-2 years old) with visible clumps or multiple shoots.
- ● Garden gloves: A pair to protect your hands from soil and sharp tools.
- ● Sharp garden knife or pruning shears: A clean, sterilized knife or shears (rubbing alcohol works great for sterilization).
- ● Garden fork or trowel: For gently loosening the soil around the chive clump.
- ● Watering can or hose: With a gentle spray nozzle for post-division hydration.
- ● Compost or well-draining potting mix: A 5-gallon bag (or enough to fill your planting area).
- ● Planting containers or garden bed: For containers: Pots 6+ inches deep with drainage holes (1-2 per division).
- ● For garden beds: A spot with full sun to partial shade and loose, fertile soil.
- ○ Rooting hormone: A small tube to encourage faster root growth (optional but handy for tricky divisions).
- ● Mulch: Straw or shredded leaves to retain moisture and suppress weeds.
- ● Plant labels: Markers or stakes to label your new chive divisions (helpful if you have multiple varieties!).
- ● Spray bottle: For misting leaves if dividing in hot or dry conditions.
Step-by-Step instructions for dividing chives
Here's how I double my chive patch every spring without losing a single harvest.
Choose the Right Time to Divide
Spring is your best window—right after the last frost when new growth begins but before the plants bolt to flower. I wait until I see fresh green shoots pushing through the soil, usually in early April where I live. Avoid dividing in summer heat or winter dormancy; chives need active growth to recover from the shock of division.
If you miss spring, fall is your second chance—about six weeks before your first frost. The plants should still be green and growing, but not yet sending up flower stalks. You'll know it's time when the clumps feel dense and crowded, with multiple shoots emerging from the same base.
Prepare Tools and Workspace
Grab a sharp garden knife or clean spade, a bucket of water, and a hose with a gentle spray nozzle. I like to work on a tarp or old sheet to catch the soil and make cleanup easy. Wet the soil thoroughly before digging—this helps minimize root damage and makes the clumps easier to separate.
Don't use a dull shovel; it tears roots and stresses the plants. A sharp knife gives you clean cuts and reduces recovery time. And always wear gloves—chives can be aggressive when disturbed, and you'll want to handle the divisions carefully.
Dig Up and Separate the Clumps
Gently loosen the soil around the chive clump with your spade, working the blade in about 6 inches deep. Lift the entire plant out, shaking off excess soil to expose the roots. You'll see individual shoots connected by a network of roots—these are your divisions. Use your fingers or the knife to separate them, ensuring each has at least 3-4 healthy shoots and a good root system.
If a division has only a few weak shoots, don't force it—compost it instead. You want each new plant to have enough energy to establish itself. I usually end up with 4-6 strong divisions from one mature clump, and each will grow into a full plant within a season.
Replant the Divisions
Dig small holes about 6 inches apart and 2 inches deep—chives don't need much space, but crowding them leads to weak growth. Place each division in its hole, spreading the roots gently and covering them with soil. Water deeply right after planting to settle the soil and remove any air pockets around the roots.
Here's the thing—don't bury the shoots too deeply. The top of the root ball should sit just below the soil surface. Over-deepening can cause the plants to rot or struggle to emerge. After watering, give the soil a light firming with your fingers to ensure good contact.
Care for New Plants Through Establishment
Keep the newly divided chives consistently moist for the first two weeks, but don't let them sit in soggy soil. You'll see new growth within 7-10 days—that's your signal everything is working. Once the plants are established, reduce watering to about once a week, depending on your climate.
I avoid harvesting from the divisions for at least four weeks to let them build strength. After that, you can snip leaves as needed, but never take more than a third of the plant at once. By next spring, your divisions will be just as vigorous as the original clump—and you'll have more chives than you know what to do with!
Tips & tricks for perfect chive division
Here's what nobody tells you about making chive divisions thrive from day one.
Timing is Everything: In Step 1, watch for those fresh green shoots pushing through the soil—this is your exact cue to divide. I've learned the hard way that waiting too long means the clump becomes too dense, and separating it risks damaging the roots. The window between last frost and flowering is your golden opportunity, and it's usually shorter than you think!
Tool Prep Makes All the Difference: Before you even start digging in Step 2, sharpen your knife or spade and wet the soil thoroughly. I've seen gardeners skip this step and end up with torn roots and stressed plants. A sharp tool gives clean cuts, and moist soil helps the clumps separate without resistance. Think of it like prepping your kitchen knives before chopping—precision matters!
Root Health is Non-Negotiable: When you're separating those divisions in Step 3, pay close attention to the roots. Each division needs at least 3-4 healthy shoots and a good root system—don't be tempted to keep weak divisions. I've made the mistake of forcing underdeveloped divisions to grow, and they always ended up struggling. It's better to compost them and focus on strong, healthy plants that will thrive.
Planting Depth Matters More Than You Think: In Step 4, when you're replanting, remember that chives don't like to be buried too deeply. The top of the root ball should sit just below the soil surface—any deeper and you risk suffocating the plant. I've seen gardeners accidentally bury chives too deep, and they either rot or take forever to emerge. A light firming with your fingers after planting ensures good soil contact without over-deepening.
Pro Tips for Divide Chives
- Here's what nobody tells you about making chive divisions thrive from day one.
- Timing is Everything: In Step 1, watch for those fresh green shoots pushing through the soil—this is your exact cue to divide.
- Tool Prep Makes All the Difference: Before you even start digging in Step 2, sharpen your knife or spade and wet the soil thoroughly.
Frequently asked questions
Got questions about dividing chives? You’re not alone! Here are some of the most common queries—plus straightforward answers to help you propagate like a pro.
When is the best time to divide chives?
The ideal time to divide chives is in early spring (just as new growth begins) or early fall. Avoid dividing during extreme heat or cold, as the plant needs energy to recover and establish roots. Spring divisions give you a head start for the growing season!
Can I divide chives in pots instead of the ground?
Chives thrive in containers. Use pots at least 6 inches deep with drainage holes, and ensure they’re placed in a spot with full sun to partial shade. Just like in-ground divisions, give them time to adjust—water lightly for the first week to avoid transplant shock.
How do I know if my chive plant is ready to divide?
Look for these signs:
- Crowded clumps: If the center looks bare or the plant is spreading aggressively, it’s time.
- Healthy foliage: Vibrant green leaves mean the plant has stored enough energy for division.
- Root growth: Gently tug on the outer stems—if they pull away easily with roots attached, they’re ready!
What if my divided chives don’t survive?
Don’t panic! Low survival rates often stem from overcrowding during transplant or poor soil conditions. Troubleshoot by:
- Ensuring each division has 3–4 inches of root and at least 3–5 stems.
- Watering deeply but infrequently (let soil dry slightly between waterings).
- Providing shade for a few days if your climate is harsh.
Can I use divided chives for cooking right away?
Technically yes, but it’s best to wait 2–3 weeks after dividing before harvesting. This gives the plant time to recover and regrow. For immediate use, snip only the outer leaves (avoid the center) to minimize stress. Pro tip: Freeze divided chives in ice cube trays for later use!
Wrapping up and next steps
Dividing chives is a simple, rewarding way to expand your garden—without spending a dime! 🌱 Whether you’re a beginner or a seasoned gardener, this method ensures healthy plants and a steady supply of fresh green onions.
Now that you know the steps, grab your gloves and get growing! Ready for more? Try experimenting with other easy-to-divide herbs like cilantro or green onions next.