
Flowers
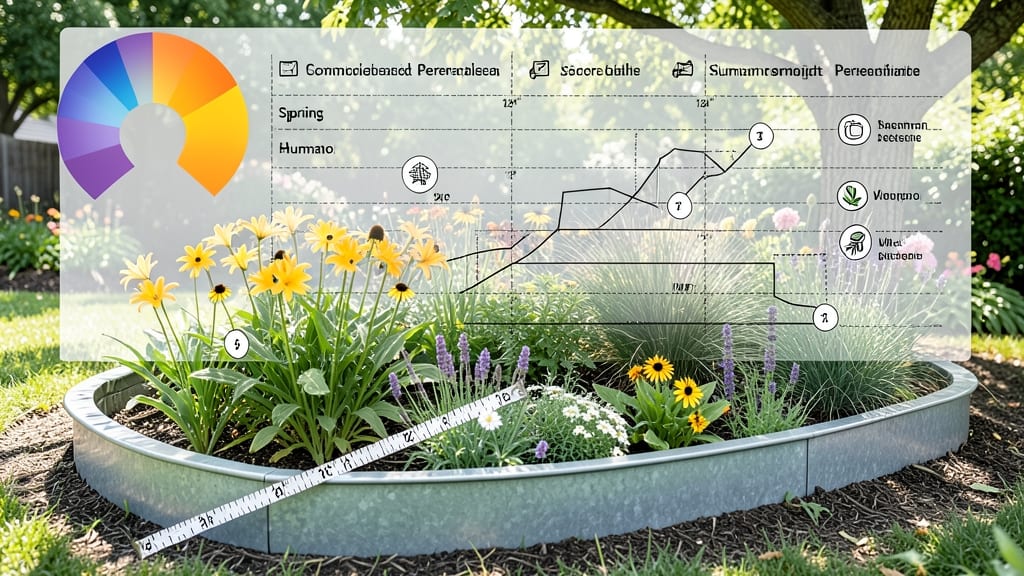
Designing how to design a flower bed layout that looks like a magazine spread starts with symmetry. 🌸 I’ve turned my front yard from "meh" to "wow" using simple shapes—circles, rectangles, and curves—that guide the eye naturally. The trick?
Layering plants by height and bloom time so every season feels like a fresh start. You’ll need a sketch (even a rough one), a tape measure, and a palette of three main colors to create harmony.
Start with tall plants at the back, mid-height in the middle, and low growers at the front—this creates depth without overcrowding. My 5-foot-wide bed now bursts with color from spring tulips to fall mums, all while requiring less maintenance than my previous chaotic planting. The payoff?
A garden that looks intentional, not accidental. You’ll spend less time weeding and more time admiring how everything flows together—like a painting where every brushstroke matters. Even small spaces can shine with the right layout.
This works for any style: cottage gardens with wildflowers, modern beds with clean lines, or formal designs with geometric precision. Let’s sketch your dream bed today!
📚 In This Guide
- What you need
- Instructions
- Tips and common mistakes
- Wrapping up and next steps
What you need
- ● Measuring tape (25–50 ft) – For precise layout planning.
- ● String or garden twine (100+ ft) – To mark out shapes and guide symmetry.
- ● Stakes or wooden dowels (10–20 pieces) – For anchoring string and defining borders.
- ● Spade or garden shovel – For digging and soil prep (borrow or rent if needed!).
- ● Garden hose with spray nozzle – For watering and keeping soil moist.
- ● Garden gloves (1–2 pairs) – Protect your hands from thorns and dirt.
- ● Pruners or shears – For trimming plants and shaping edges.
- ○ Mulch (optional but recommended) – Shredded bark, straw, or pine needles (2–3 bags) to retain moisture and suppress weeds.
- ● Flower bulbs/seeds/plants – Choose a mix of perennials, annuals, and shrubs based on your climate zone. Aim for at least 3–5 types for texture and color variety!
- ● Topsoil or compost (1–2 cubic yards) – Amend native soil for better drainage and nutrient-rich growth.
- ● Slow-release fertilizer (e.g., 10-10-10 or organic options) – Follow package instructions for application rates.
- ● Garden edging – Metal, stone, or plastic (e.g., 12–18" tall) to define borders neatly.
- ● Garden flags or labels – To mark plant varieties (great for memory!).
- ● Kneeling pad – For comfort during long planting sessions.
- ● Watering can or drip irrigation kit – For targeted hydration.
- ● Decorative elements – Solar lights, stepping stones, or trellises to elevate your design.
Step-by-step instructions for designing symmetrical flower bed layouts
Symmetry isn’t just pretty—it’s the secret to flower beds that feel balanced and intentional.
🌿 Step 1: Define Your Flower Bed Shape and Size
Start by sketching your flower bed layout on paper or digitally. Symmetry works best with clean shapes—think rectangles, circles, or ovals. Measure your space and mark the center point; this will be your focal anchor. For a 4-foot-wide bed, divide it into equal halves to guide plant placement. I like to use a tape measure and stakes to outline the shape before digging—it keeps everything neat and prevents guesswork later.
Consider your bed’s proportions next. A 3:1 length-to-width ratio (like a 6-foot-long by 2-foot-wide bed) creates natural symmetry without overwhelming the space. If your yard has curves, use a flexible measuring tape to maintain equal distances from the centerline. This ensures your design stays balanced even in organic shapes.
✂️ Step 2: Plan Your Plant Groups in Symmetrical Pairs
Symmetry thrives on repetition, so group plants in pairs or multiples of three. Start with your tallest plants (like delphiniums or hollyhocks) at the back or center, then layer medium-height flowers (like peonies or daylilies) behind shorter ones (like pansies or ajuga). I always sketch a simple diagram first—just circles or squares to represent plant sizes—so I can visualize the flow before digging.
For a season-long display, pair plants with overlapping bloom times. Place early bloomers (like crocus or hellebores) at the edges, mid-season flowers (like roses or black-eyed Susans) in the middle, and late-season stars (like asters or mums) toward the back. This keeps color and texture visible from spring through fall. Pro tip: Use odd-numbered groupings (3, 5, or 7 plants) for a more natural, intentional look.
🪴 Step 3: Arrange Focal Points and Transition Zones
Every symmetrical bed needs a focal point—something that draws the eye and anchors the design. This could be a striking shrub (like a boxwood or hydrangea), a decorative pot, or even a bench. Place it at the center or along the bed’s central axis. For example, a 3-foot-tall ornamental grass in the middle of a circular bed instantly creates balance. Flank it with two identical smaller plants (like dwarf coneflowers) on either side.
Transition zones soften the edges of your design. Use trailing plants (like creeping thyme or ajuga) to bridge gaps between taller specimens. These ground covers also prevent weeds and add texture. I like to plant them in a 1-inch-deep layer along the outer edges, letting them spill slightly over the bed’s border. This adds depth and keeps the look polished.
☀️ Step 4: Test Light and Color Balance Before Planting
Walk through your design at different times of day to check how light affects symmetry. Shadows can distort your layout, so adjust plant heights or spacing if one side looks heavier. For example, a tall plant on the shady side might cast a shadow that makes the bed look lopsided. Move it closer to the center or pair it with another tall plant to restore balance.
Color plays a huge role in symmetry too. Use a 60-30-10 rule: 60% dominant color (like soft pink), 30% secondary (like deep purple), and 10% accent (like bright yellow). Place accent plants symmetrically—like one yellow flower on each side of the bed—to create visual interest without overwhelming the design. I always snap a photo of my layout before planting to spot any imbalances.
🌱 Step 5: Plant and Refine for Perfect Symmetry
Dig holes slightly larger than your plants’ root balls to avoid crowding. Place each plant at the marked spot, then step back to check the alignment. Use a long ruler or string line to ensure plants are evenly spaced. For a 4-foot-wide bed, I aim for 12-18 inches between plants, depending on their mature size. Fill in gaps with mulch to keep weeds out and moisture in.
After planting, take a step back and squint—this helps you see the big picture. Adjust any plants that look out of place, even if it means replanting a few. Symmetry is all about harmony, so don’t stress over perfection. A slight asymmetry (like a leaf here or there) often feels more natural than rigid perfection. Water deeply to settle the soil, and you’ll have a stunning, balanced flower bed that blooms all season long.
Tips & tricks for perfect symmetrical flower bed layouts
Here's what nobody tells you about creating flawless symmetry—these tricks will save you hours of trial and error.
Design Tip: Use graph paper or a digital app to sketch your layout before digging. This lets you experiment with plant placements and proportions without wasting time or plants. I always print my sketch and pin it to a board near my workspace—it keeps me focused and prevents last-minute changes. For a 4-foot-wide bed, draw a vertical centerline to ensure everything stays balanced.
Plant Selection Strategy: When choosing plants, consider their mature heights and spread—not just their current size. A 3-foot-tall plant at maturity might only be 1 foot tall when purchased. I like to create a simple height chart on my sketch, marking each plant's expected height with colored dots. This prevents overcrowding and ensures your tallest plants don't get lost behind shorter ones.
Light Testing Hack: Walk through your design at different times of day to check how light affects symmetry. Shadows can completely distort your layout—especially in the morning when light is low and angled. I take photos at 8 AM, noon, and 4 PM to see how my design looks throughout the day. If one side looks heavier, adjust by moving plants closer to the center or pairing them with taller plants on the opposite side.
Refinement Secret: After planting, take a step back and squint one eye—this helps you see the big picture without getting caught up in details. I also use a long ruler or string line to check alignment between plants. For a 4-foot-wide bed, I verify that plants are evenly spaced (12-18 inches apart) and that the centerline remains the visual anchor. This final check catches any small adjustments needed for true symmetry.
Pro Tips for Design Flower Bed Layout
- Here's what nobody tells you about creating flawless symmetry—these tricks will save you hours of trial and error.
- Design Tip: Use graph paper or a digital app to sketch your layout before digging.
- Plant Selection Strategy: When choosing plants, consider their mature heights and spread—not just their current size.
Frequently asked questions
Got questions about crafting the perfect flower bed layout? You’re not alone! Here are answers to some of the most common concerns—plus a few pro tips to keep your design on track.
Start by researching your USDA Hardiness Zone (find it [here](https://planthardiness.ars.usda.gov/)) and note your garden’s sunlight exposure (full sun, partial shade, or full shade). Group plants with similar needs together—sun-loving perennials like coneflowers or daylilies thrive in 6+ hours of sunlight, while hostas or astilbes prefer dappled shade. Pro tip: Check plant tags for light requirements and pair them with native species for easier maintenance. For perennials and shrubs, early spring (after the last frost) or early fall (6–8 weeks before the first frost) are ideal—soil is warm, and plants establish roots before extreme weather. Annuals can go in after the soil warms (late spring) for instant color. Troubleshooting: If planting in summer, water deeply daily for the first 2 weeks to prevent shock. Layer plants by height, placing tall varieties (like ornamental grasses or delphiniums) at the back or center, mid-height flowers (e.g., black-eyed Susans or salvia) in the middle, and low-spreading plants (like ajuga or creeping thyme) at the front. Add foliage contrast with variegated leaves (e.g., heuchera) or structural plants like boxwoods to break up solid colors. Skip expensive mulch—use free or cheap alternatives like shredded leaves, grass clippings, or even wood chips from local tree services. Opt for perennials (they return yearly) over annuals, and propagate cuttings from existing plants. Thrift stores or plant swaps are goldmines for containers and garden art. Bonus: Divide overgrown perennials in spring to expand your garden for free! Don’t panic! Deadhead spent blooms regularly to encourage reblooming, and trim back leggy stems to maintain shape. In early spring, cut back perennials to 6 inches tall (unless they have interesting seed heads). If weeds are winning, smother them with cardboard + mulch before replanting. Quick fix: Add a pop of color with annuals (like marigolds or impatiens) to distract from gaps while you revamp the layout.Still stumped? Sketch your bed on graph paper first—it’s the secret to stress-free symmetry!
Wrapping up and next steps
Designing a stunning flower bed layout is all about balancing symmetry, seasonal interest, and your personal style—no green thumb required! 🌸 By planning your space, choosing the right plants, and layering textures and colors, you’ll create a garden that blooms beautifully all year round.
Start small, experiment fearlessly, and don’t forget to enjoy the process!
Ready to bring your vision to life? Grab your sketchbook, pick your plants, and get digging! For extra inspiration, check out our seasonal planting guides or share your progress with the gardening community—happy planting! 🌺