
How To
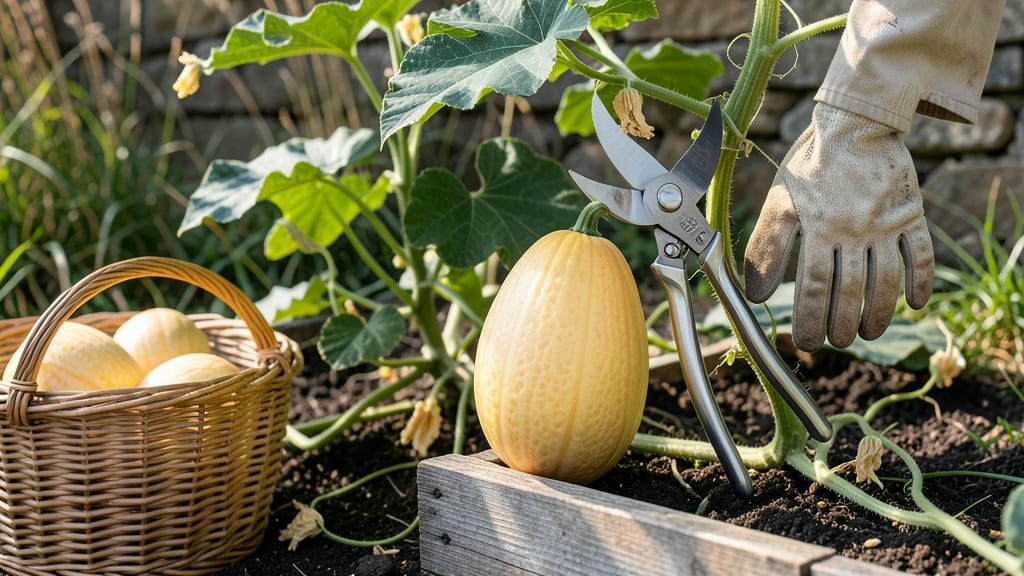
Want to know the secret to picking a Canary Melon 🍈 that's perfectly ripe—creamy, sweet, and bursting with flavor? You don't need a degree in botany; just master two simple tricks that'll save you from bitter disappointments.
Most gardeners struggle with timing, but the answer lies in what you can't always see: the thump test and the stem check. These two methods will transform you from a guessing game player to a melon expert in minutes. No more slicing into underripe or overripe fruit!
Imagine harvesting your Canary Melon at just the right moment—when the rind has that perfect pale yellow-green hue and the tendril near the fruit has turned brown and crispy. That's the moment you'll know you've nailed it, and your taste buds will thank you.
Ready to learn how? I'll walk you through every detail, from the exact sound you're listening for during the thump test to the subtle color changes on the stem that signal ripeness. Let's get started!
Canary melon ripeness guide: mastering the thump test & sound tricks
Canary melons—those sweet, creamy cucumbers with a pale green rind—are a gardener’s delight when picked at the perfect moment. Unlike their mushy honeydew cousins, canary melons stay firm yet tender when ripe, and the thump test is your secret weapon.
This method reveals whether the fruit is underripe (hard as a rock) or overripe (mushy and seedy). The key? Listening for a dull thud, not a hollow echo.
Start by gently cupping the melon in one hand. With your other hand, tap the side nearest you with two fingers—no need to slam it like a watermelon. A ripe canary melon will produce a low, muffled sound, almost like knocking on a closed door.
If it sounds hollow or metallic, it’s still firm and needs more time. Overripe melons? They’ll feel spongy and make a thud that echoes like a drum.
The thump test works because ripe canary melons develop a thicker, creamier flesh inside, which changes their internal density. Unlike honeydews, which soften dramatically when ripe, canary melons stay slightly firm but yield just a bit when pressed.
Pro tip: Test melons at room temperature—cold fruit from the fridge will trick you into thinking it’s underripe.
Timing matters too. Canary melons typically ripen between 70 to 100 days after planting, but heat waves or cool spells can delay or speed this up. If your melons are smaller than a softball (about 4–6 inches in diameter), they’re likely not ready yet.
Size alone isn’t enough—always combine the thump test with the stem check (we’ll cover that next) for foolproof results.
🌱
Don’t rely solely on the thump test—combine it with the stem check for accuracy. The tendril closest to the melon should turn brown and crispy when ripe. If it’s still green, the melon needs more time.
Overripe melons often have shriveled stems and a slightly wrinkled rind, so act fast once you hear that perfect dull thud!
Pro tip: Harvest canary melons in the morning when temperatures are cooler. This preserves their sweetness and crispness longer. Store them at 50–55°F (unlike honeydews, which need cooler temps) and use within 5–7 days for peak flavor.
💧
If you’re still unsure, slice one open—ripe canary melons have bright green, seedless flesh with a creamy texture. Overripe ones turn yellowish and seedy, while underripe ones stay pale and watery. Mastering the thump test now means you’ll never guess again!
Stem & color secrets: how to spot a perfectly ripe canary melon
Canary melons reveal their ripeness through subtle but unmistakable visual cues—once you know what to look for. Unlike honeydew or cantaloupe, these melons don’t turn completely yellow when ripe. Instead, focus on the stem color and rind texture as your primary indicators.
A ripe canary melon will show a pale yellow-green blush on its rind, often concentrated near the stem. This color shift signals the fruit’s sugars have fully developed, but the rind should never appear fully yellow or mushy.
The stem is your secret weapon. When ripe, it will turn from bright green to a dull brown or tan, almost like dried paper. Gently tug on it—if it separates easily from the vine, that’s your cue to harvest.
This change happens because the stem’s cells break down as the fruit matures, making it detach cleanly. Never pick a melon by its stem alone, though; always combine this with the thump test for accuracy.
| Ripeness Cue | What to Look For | Action |
|---|---|---|
| Rind Color | Pale yellow-green blush (not full yellow) | ✅ Ready to pick |
| Stem Color | Dull brown/tan (dries out) | ✅ Combine with thump test |
| Tendril Near Fruit | Brown and crispy (dead) | ✅ Confirm ripeness |
| Fruit Texture | Firm but yields slightly to gentle pressure | ✅ Avoid hard or mushy fruit |
Avoid the common mistake of waiting for canary melons to turn fully yellow like cantaloupe—they’ll never reach that stage and may become overripe or develop off flavors. Overripe melons often feel soggy when squeezed and may have a fermented smell near the stem.
If you notice dark spots or wrinkled skin, it’s past its prime. Instead, harvest at the pale yellow-green stage for the best balance of sweetness and texture.
Pro tip: Check melons in the morning when temperatures are cooler. This reduces the risk of sunburn spots (which can mimic ripeness) and makes visual cues—like the stem color—easier to assess.
Store ripe canary melons in a cool, dark place (like a pantry) for up to 5 days to preserve their flavor. If you’re unsure, pick a melon 1-2 days early—they’ll continue ripening slightly off the vine.
One final check: Run your fingers over the melon’s surface. A ripe canary melon should feel smooth but slightly soft, almost like a ripe avocado. If it’s rock-hard, it’s underripe; if it’s mushy, it’s overripe.
This tactile test is especially useful for gardeners who grow multiple varieties and want to avoid mixing up canary melons with honeydew or muskmelon.
Mastering these stem and color secrets will ensure you never miss a perfectly ripe canary melon again. The key is patience—harvest too early, and the flavor won’t develop fully; wait too long, and you’ll sacrifice texture. With practice, you’ll spot a ripe melon in seconds! 🌱